June 12, 2020
I have always wanted built ins. I dreamed of styling the shelves, filling them with books, and cute little trinkets. Unfortunately, built ins did not come with our house. A couple of years after moving in, we decided that it was time to change that. I searched and searched and searched for plans that would work well for the beginner DIYer. At that point, we had not really done anything more than painting, so this project was major! I was certain that an Ikea hack would be easy enough for us to tackle for this DIY built in project.
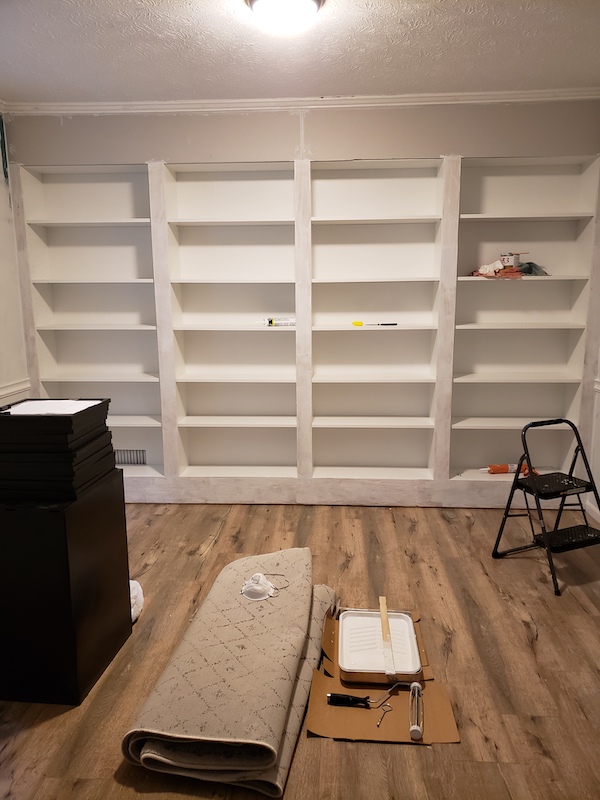
I came across a couple of blog posts where people used IKEA Billy bookcases for built ins, but none of them seemed that they would work well for what we were looking for. So we decided to just go for it and figure it out! I am so happy that we did. (You can download a very detailed version of this tutorial below.) Check out how this wall looked prior to starting our build:
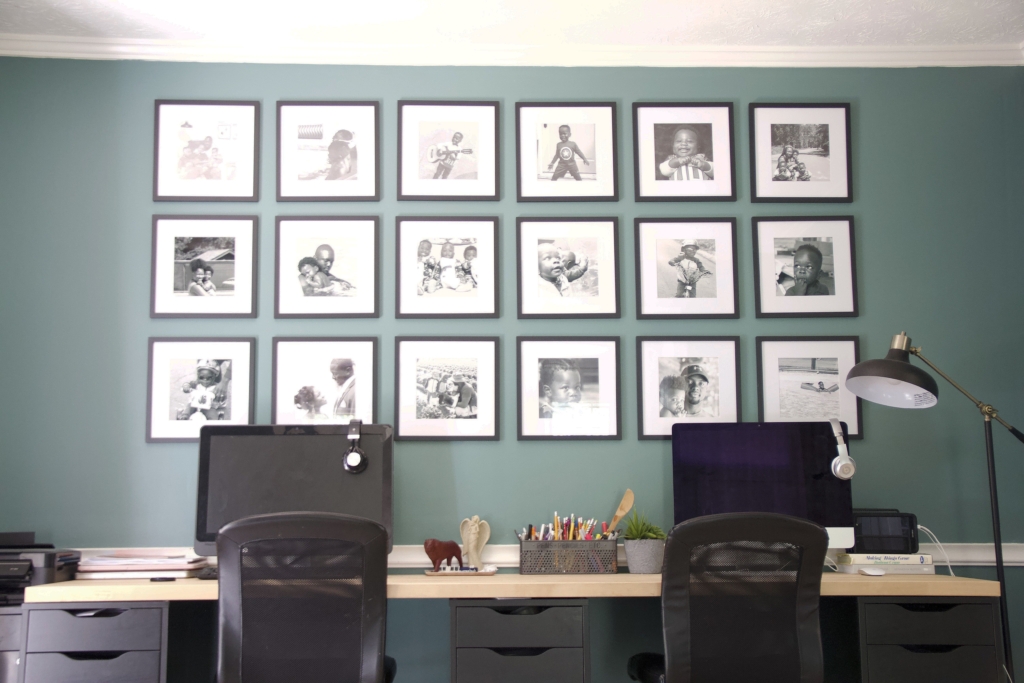
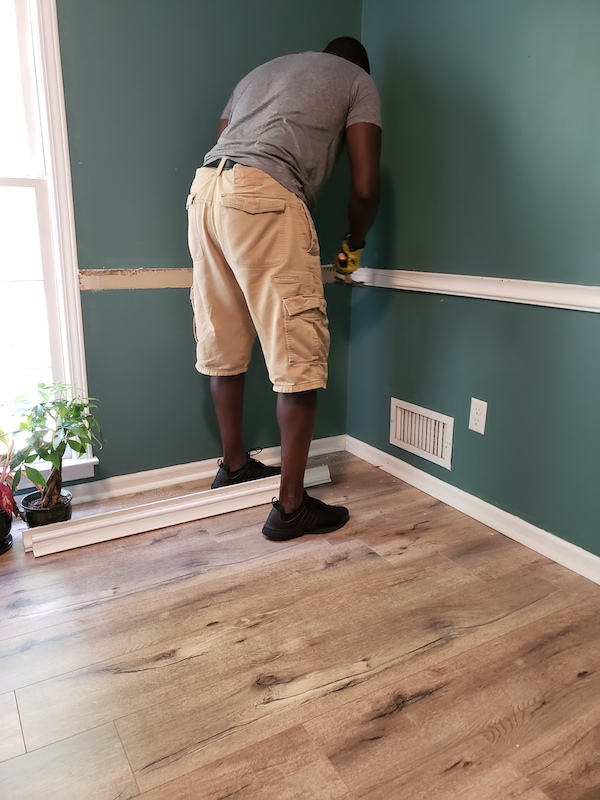
The first thing we did was to clear everything out of the room. I actually repurposed two of these cabinets and the desk top for my mom cave. I really try to maximize our budget by reusing things when I can. Once everything was out of the room we popped off the chair rails and the floor moulding. We took the baseboards and quarter round off because we wanted the base to sit snug against the wall.
The next was to build the base. We chose the bookcases that are 79 1/2 inches tall which left a signifiant, yet purposeful gap at the top. To shorten the gap and give the room a more built in look, we built a base. Without the base, the bookcase would sit closer to the ground and you will not be able to make sure it all blends later on.
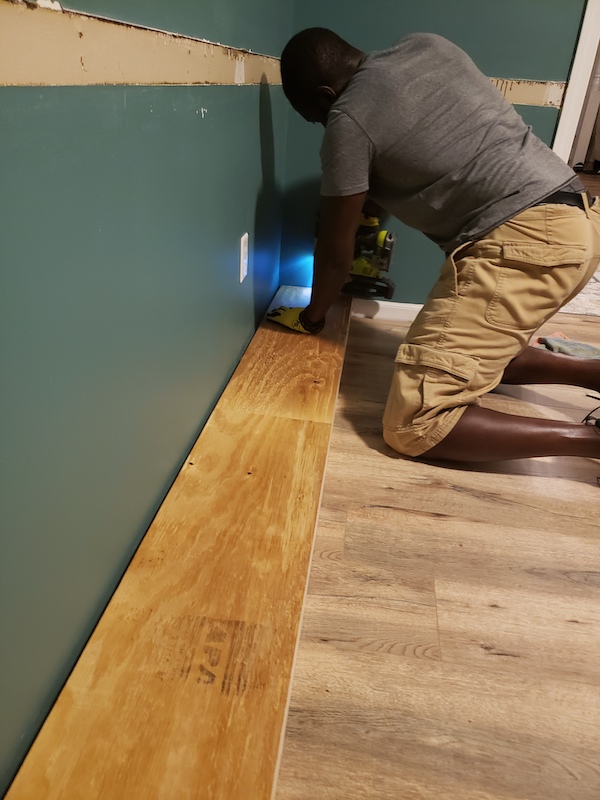
Using 2 x 4s, we created two long frames and two short frames. We cut the long frames to be the length of the wall and we cut additional 2 x 4s for the support braces (for more detailed instructions see the downloadable below). Once that is done we attached all of the frames together and cut a piece of plywood to sit on top.
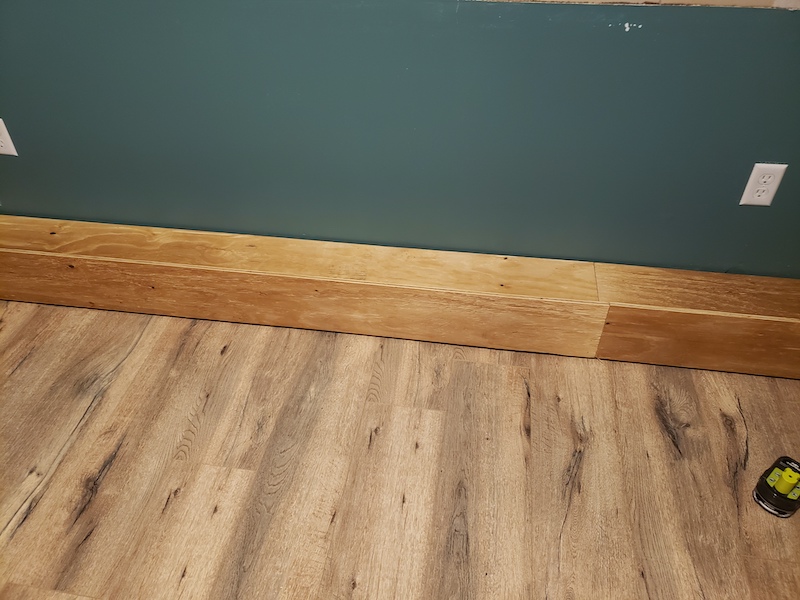
Then we cut and attached the plywood facade for the front of the base. This also helps create the more built in look.

Next we built all four of the bookcases. At this point in homeownership we are like professionals at building Billy bookcases. We were able to build them all in one evening and set them in place. We spaced them according to the measurements of our wall to be equidistant apart. The top of our facade piece was flush with the lowest shelf on the bookcase. Before we moved on, we made sure to anchor the bookcases to the wall. There are a variety of ways to do this. We used small L-brackets and 1/2 inch to 1 inch wood screws to secure them.
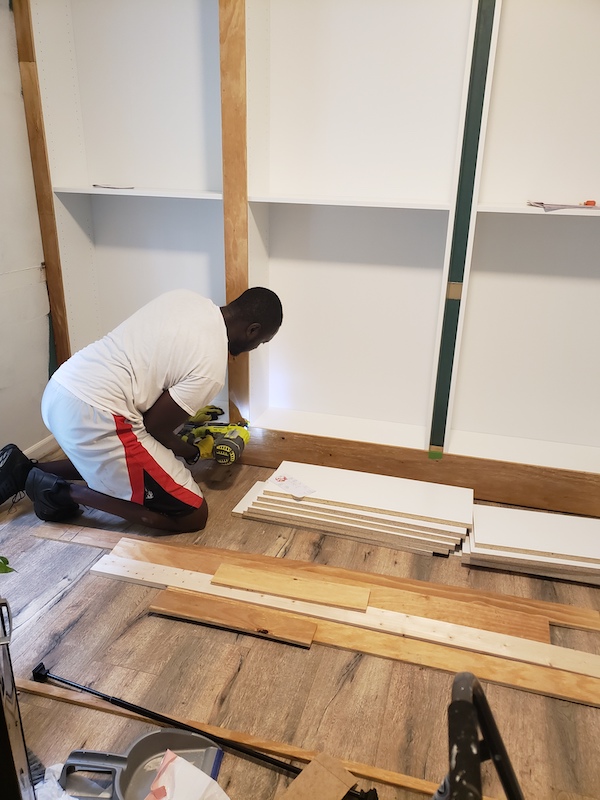
Next, we attached the column pieces to the front of the bookshelves in between each of the shelves. We cut them to the proper width and attached them to the sides of each bookshelf using finishing nails.
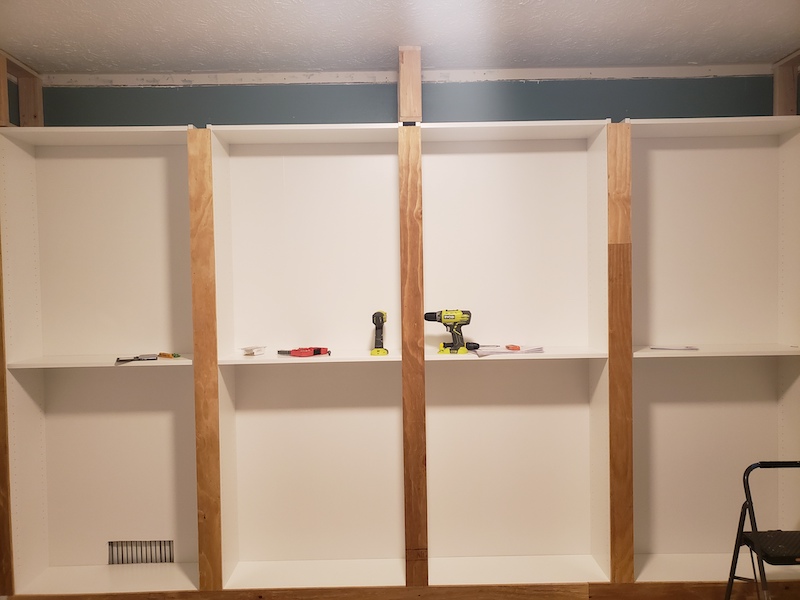
This is what it looked like when all of the column pieces were in place. We also created three additional 2×4 frame boxes for the top section so that we could effectively close the gap.
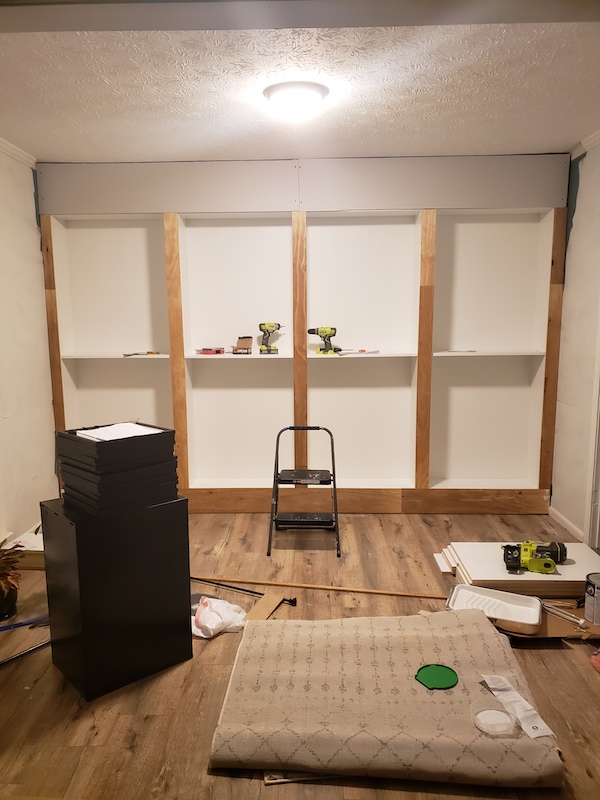
We used drywall to close the gap between the ceiling and the top of the bookcases, however we suggest you use plywood instead. We attached the drywall to the frames at the top and moved on to caulk and prime the wood.
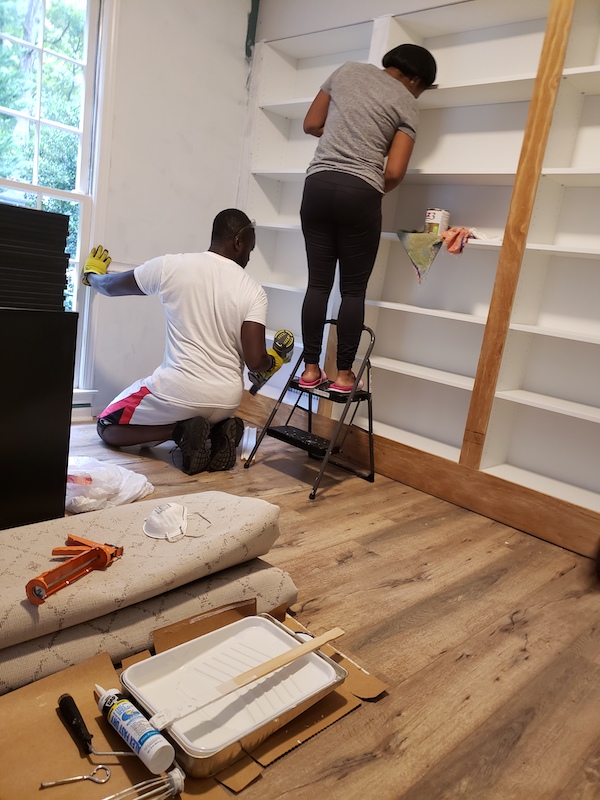
Next we added crown moulding to the top and we painted and caulked to make sure it would all look seamless. At this point, I was over this project but we were so close to the finish line and it was already looking so good!
We had no clue what type of wood to buy initially, so we just grabbed the cheapest wood available. That definitely cost us a lot of time at this step because we had to prime and sand it down several times for the wood to be smooth. I would suggest investing in better quality wood if you plan to do this project in your home.

Once everything was caulked, all the nails filled, and everything primed and smooth we were ready to start painting. Which meant that we were almost done! We chose to use white paint but if you follow me over on Instagram then you know that has recently changed!
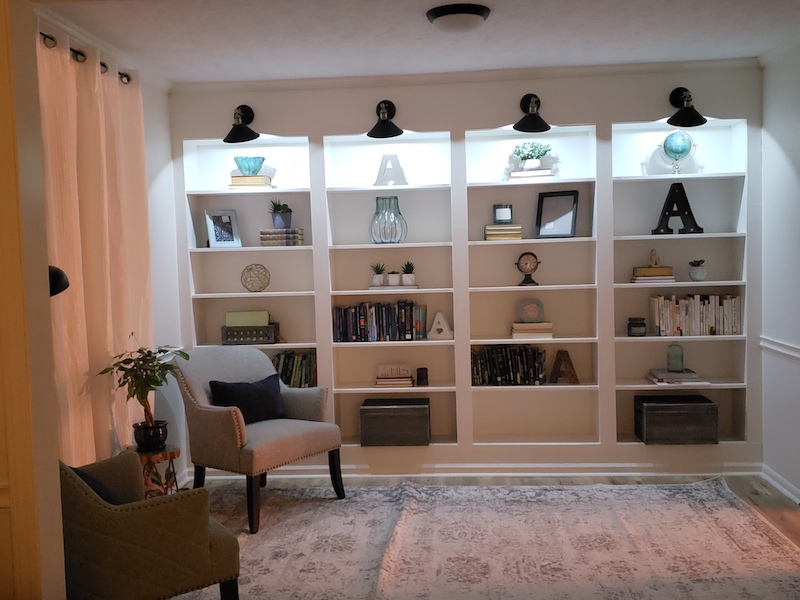
The final step was installing these wall sconces. You will notice that we did not do any wiring for lights, but we have lights here! We used Nesting with Grace’s magic light trick/pucklight hack. We essentially just secured a pucklight to the inside of each light fixture. You can do this several ways. I used industrial strength velcro but I have seen people do it so many different ways over on Instagram. I also share the way I did it over on my Instagram account under the DIY Builtins highlight.
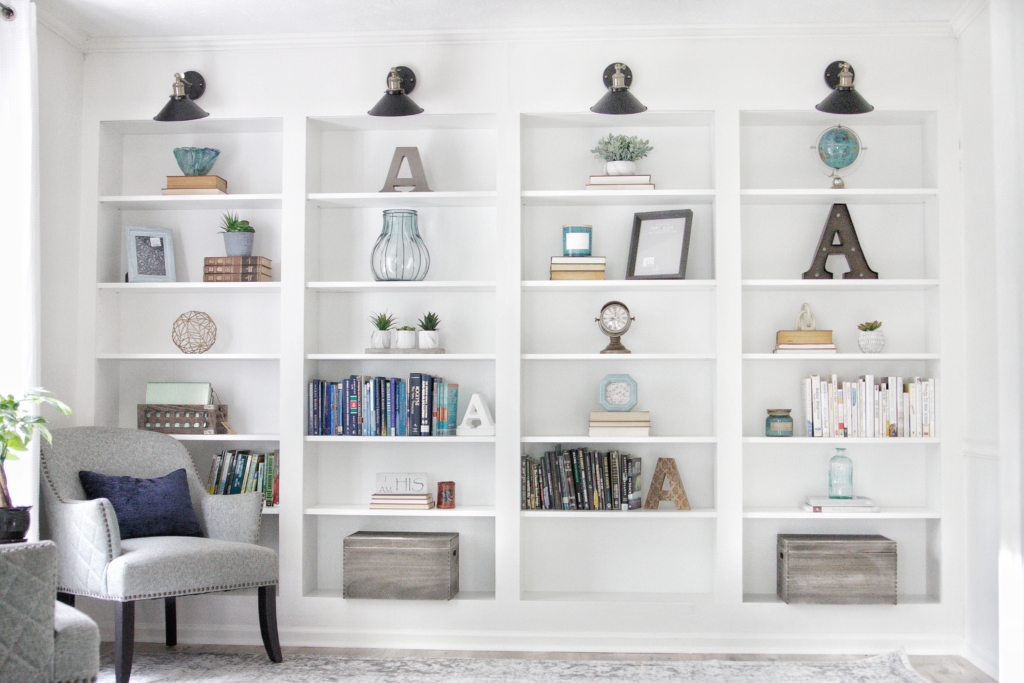
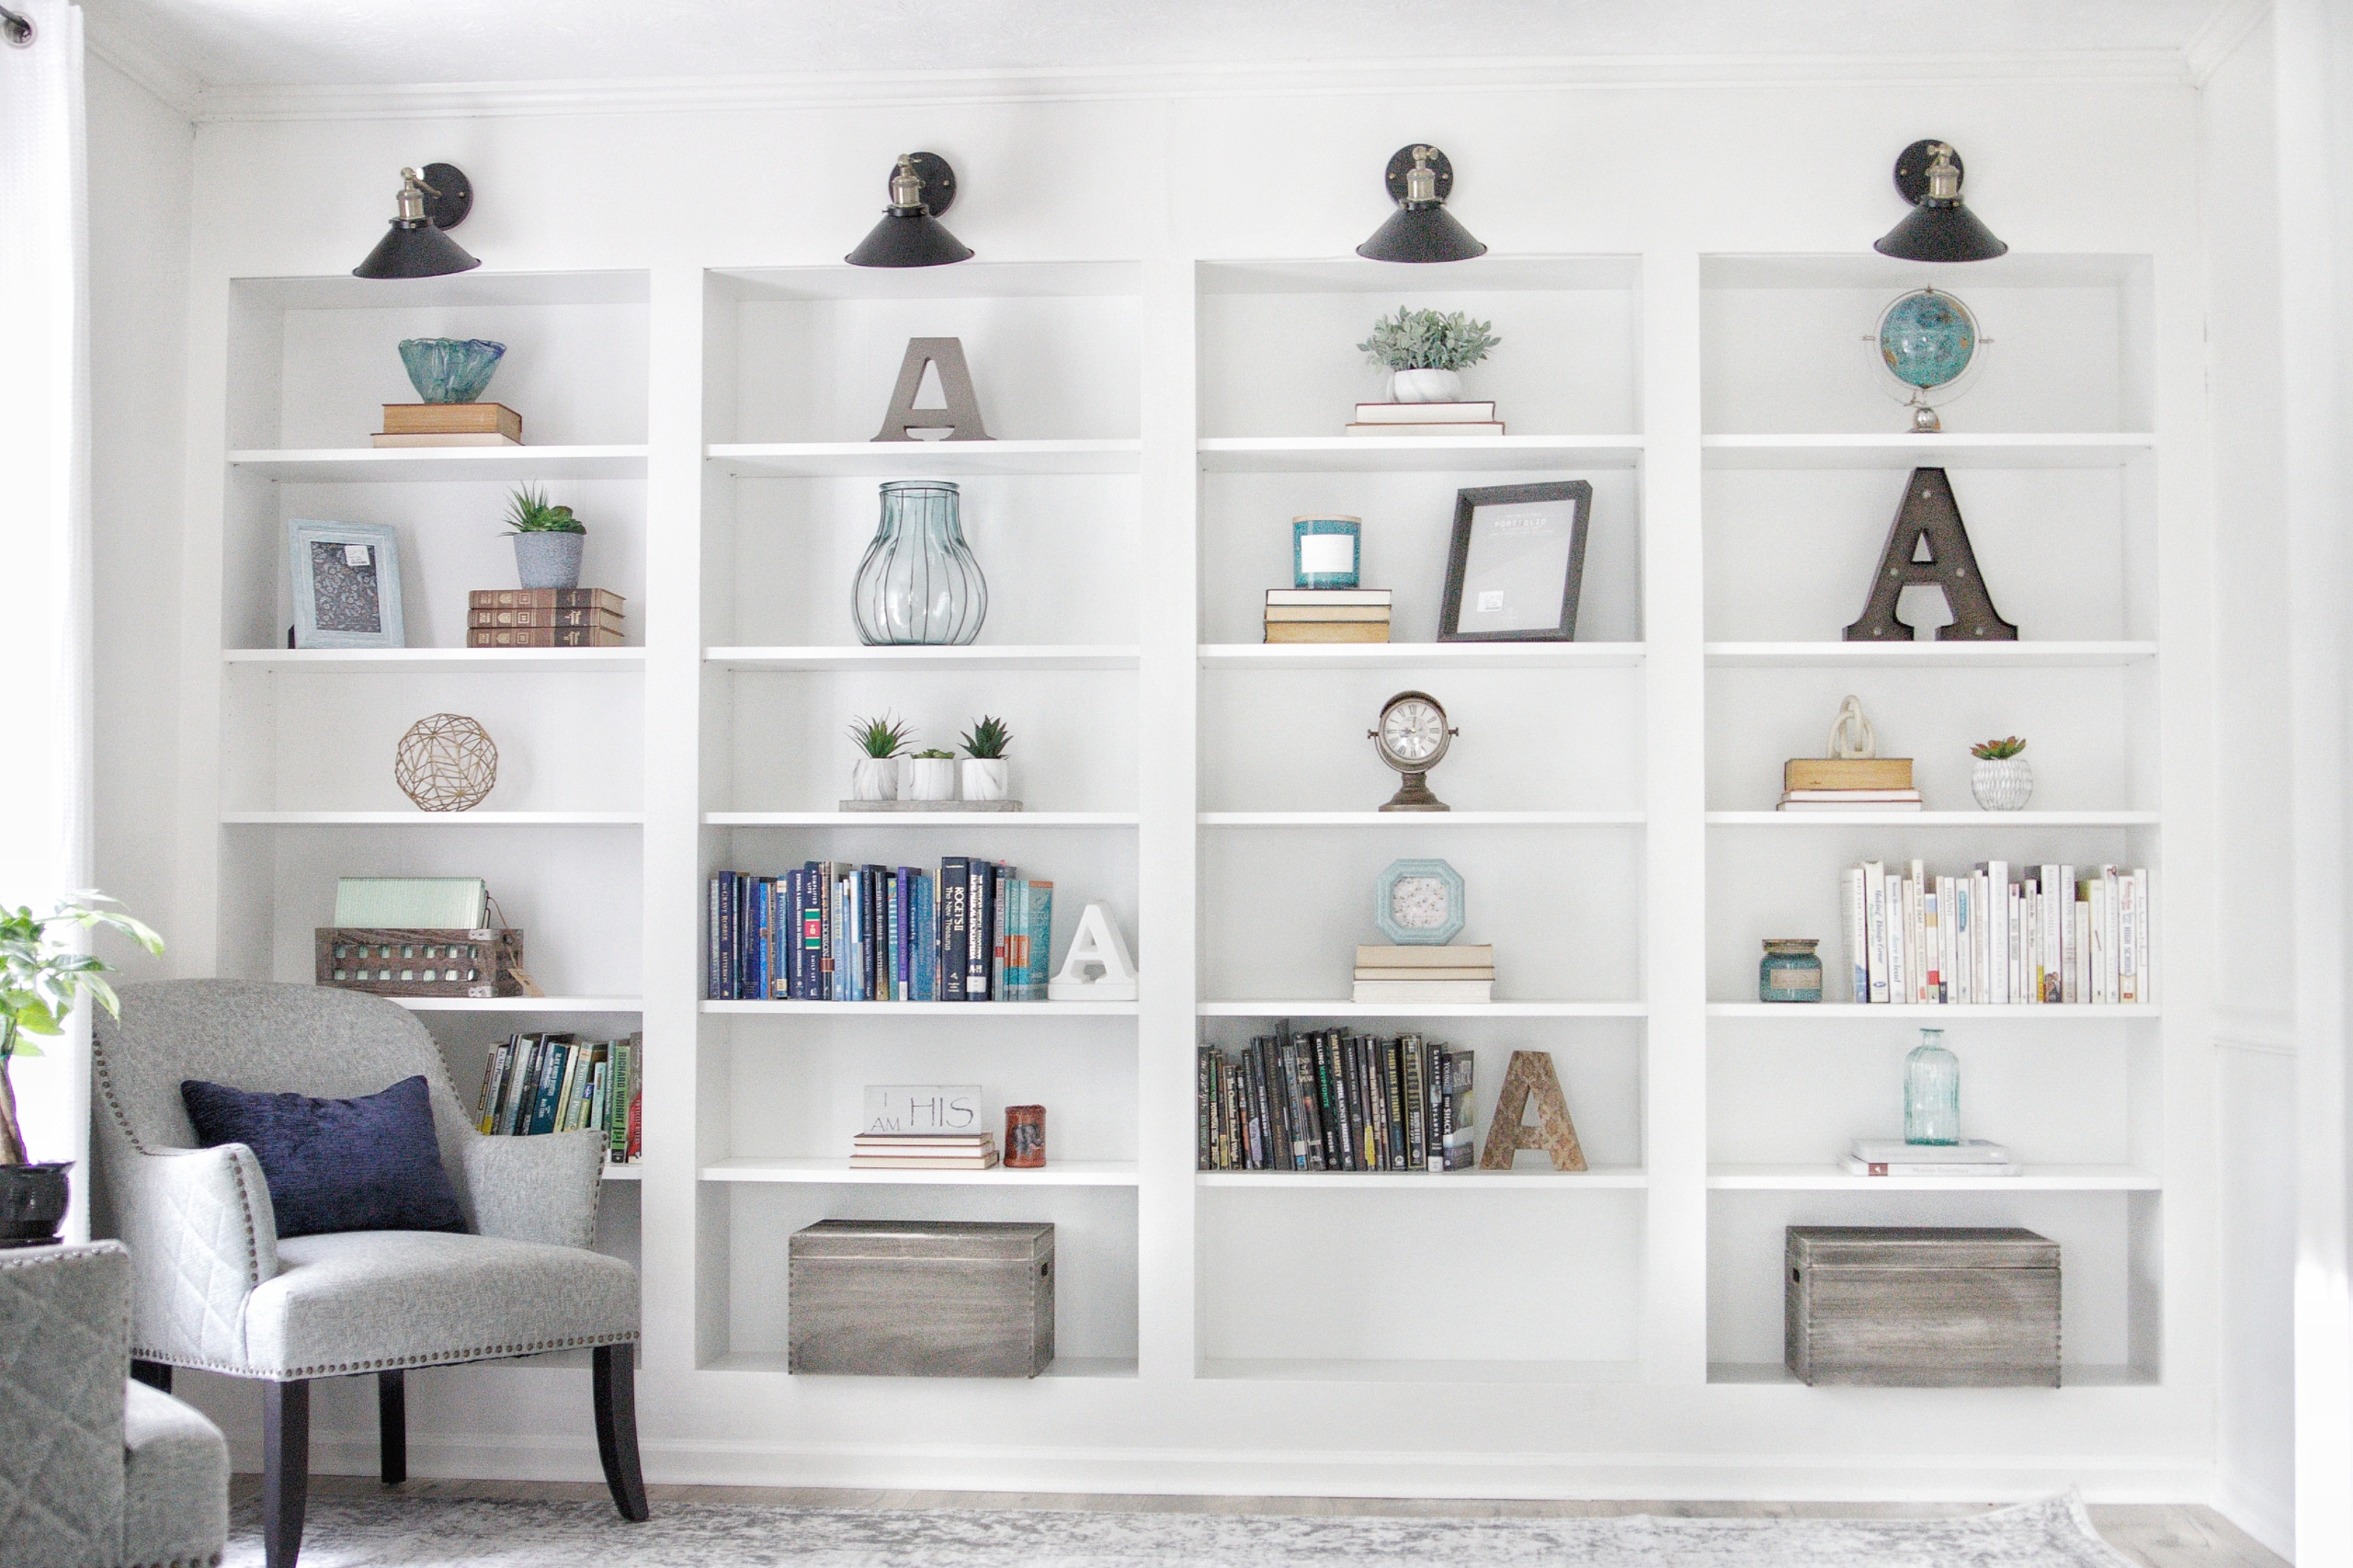
I love how this DIY Ikea built ins turned out. The adjustable shelves are perfect and super easy to switch around if you need to. This is just a super versatile build! So what do you think? Is this something you would tackle in your home? For more detailed, super specific instructions check out the FREE downloadable!

excellent job. I love that you and your husband worked on it together.
Thank you! Yes, it was definitely a labor of love!
Comments