March 6, 2020
From the moment we purchased this washer and dryer set, I knew I wanted a pedestal. We looked around for the pedestals built by the manufacturers but I just could not get with the cost. We decided we wanted to build our own and three years later we finally got around to doing it thanks to the #555RoomChallenge.
I searched for the most simple tutorial for a DIY laundry pedestal and finally landed on this one by Family Handyman. We basically followed his exact instructions for the pedestal (minus a few cutting mistakes and trips back to Lowe’s).
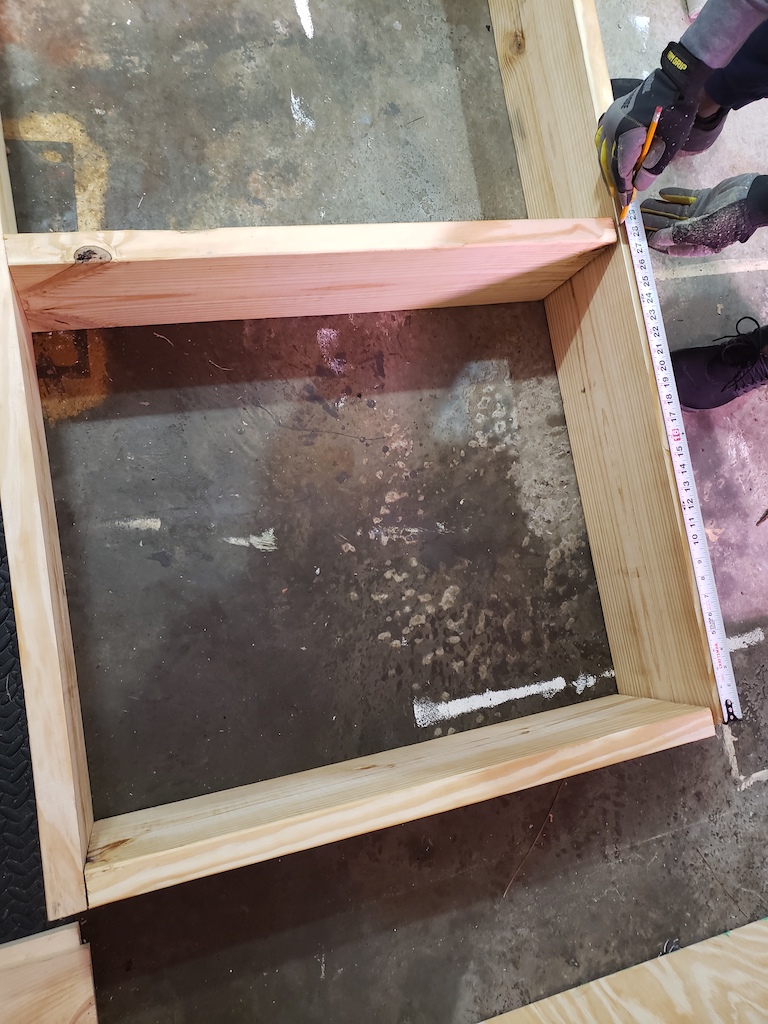
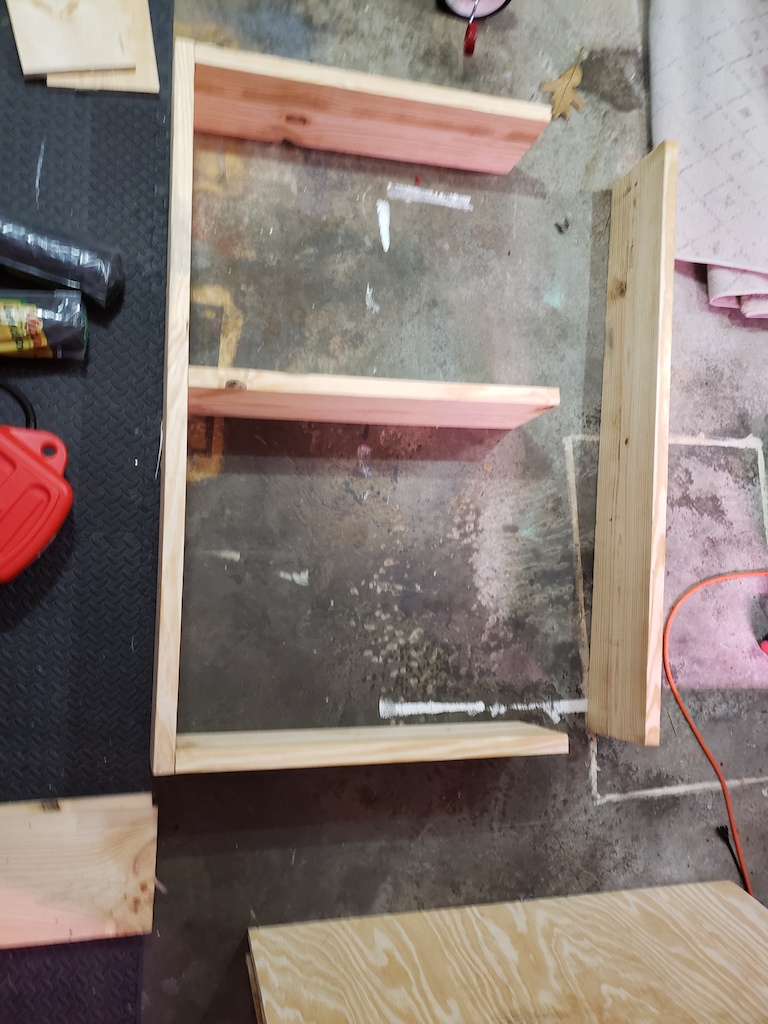
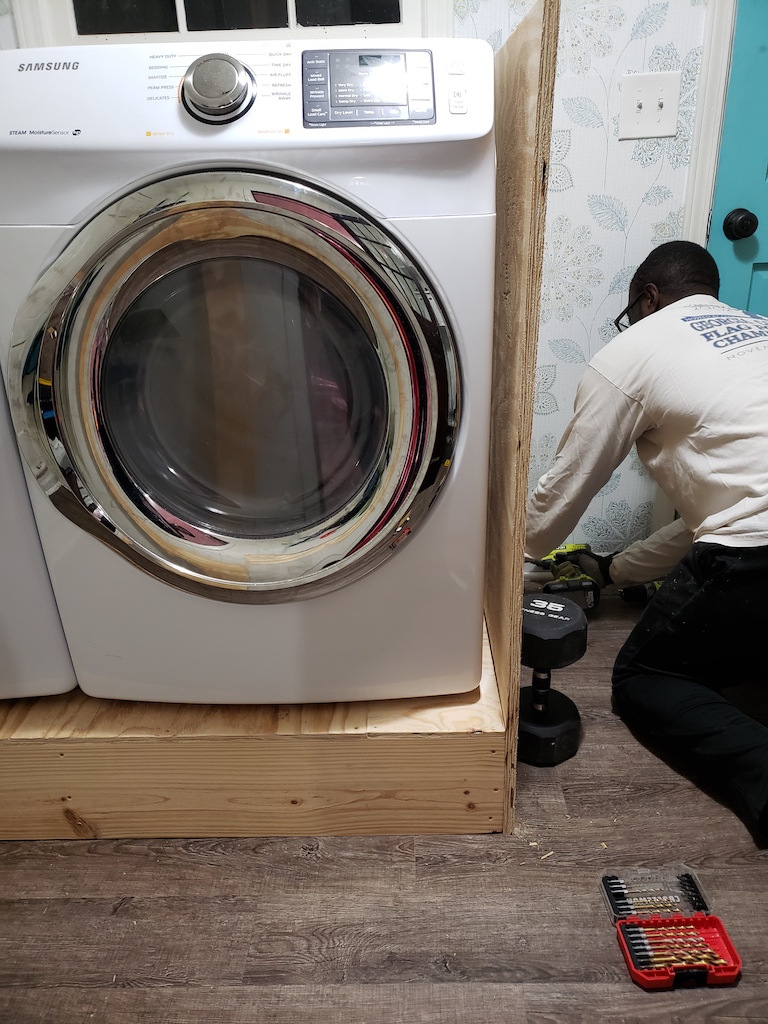
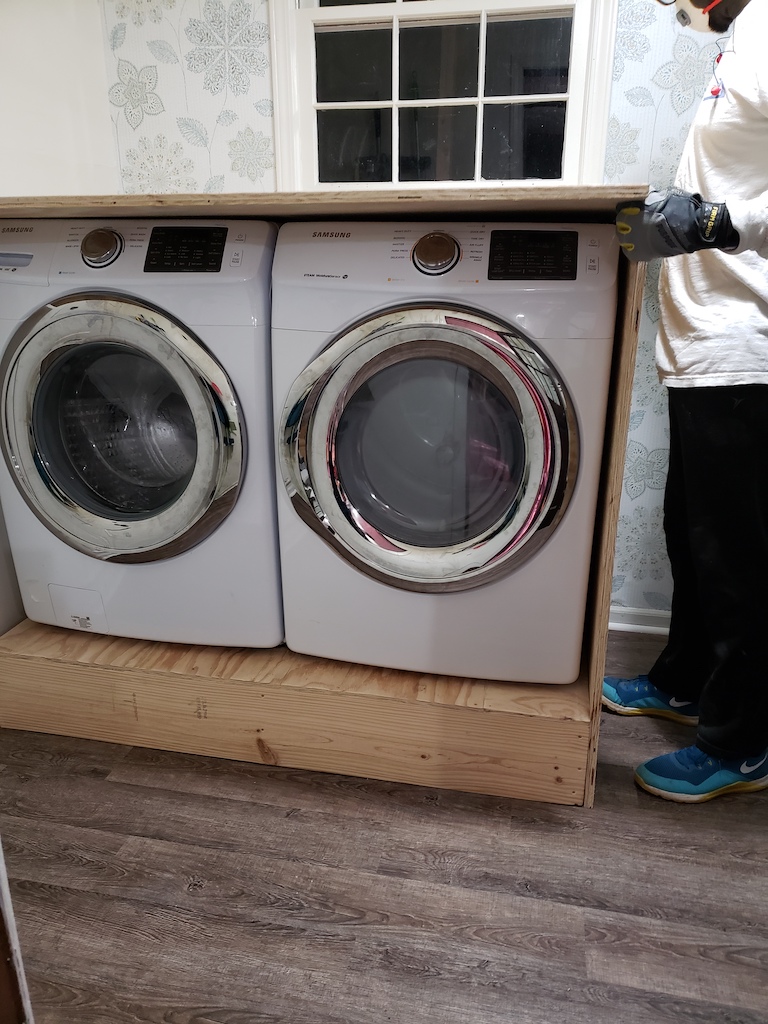
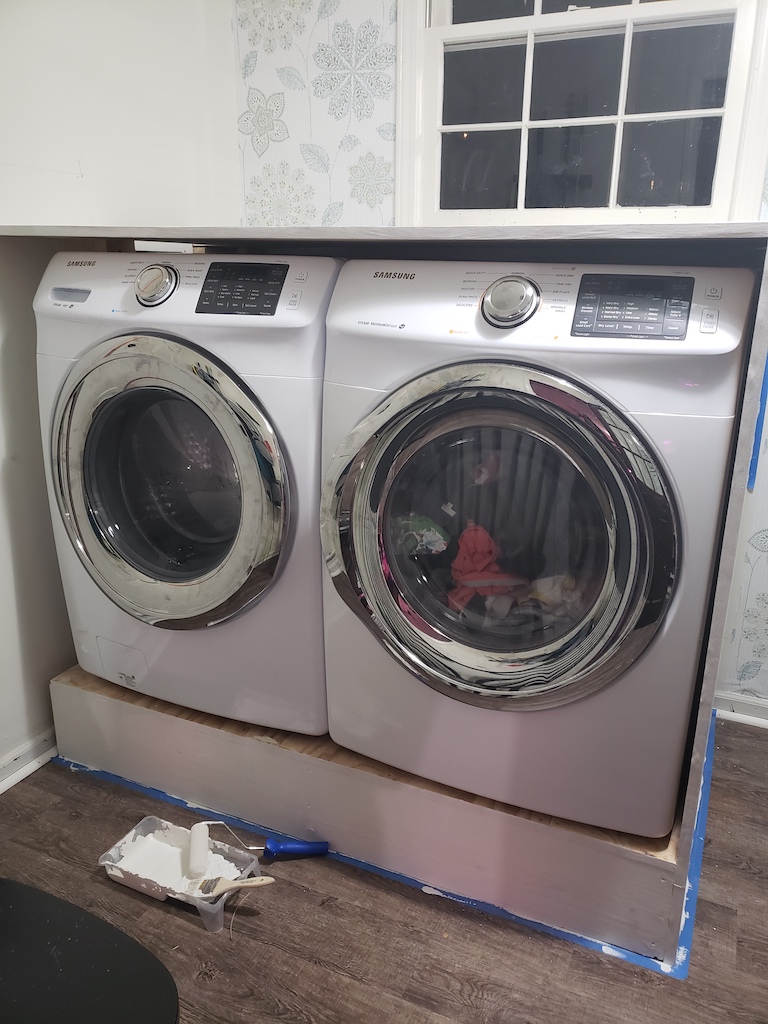
Once we had the pedestal together we sanded it all down in preparation for painting and slid the washer and dryer on top. Well, my husband somehow placed them on top by himself and I had no clue that he was even doing it!
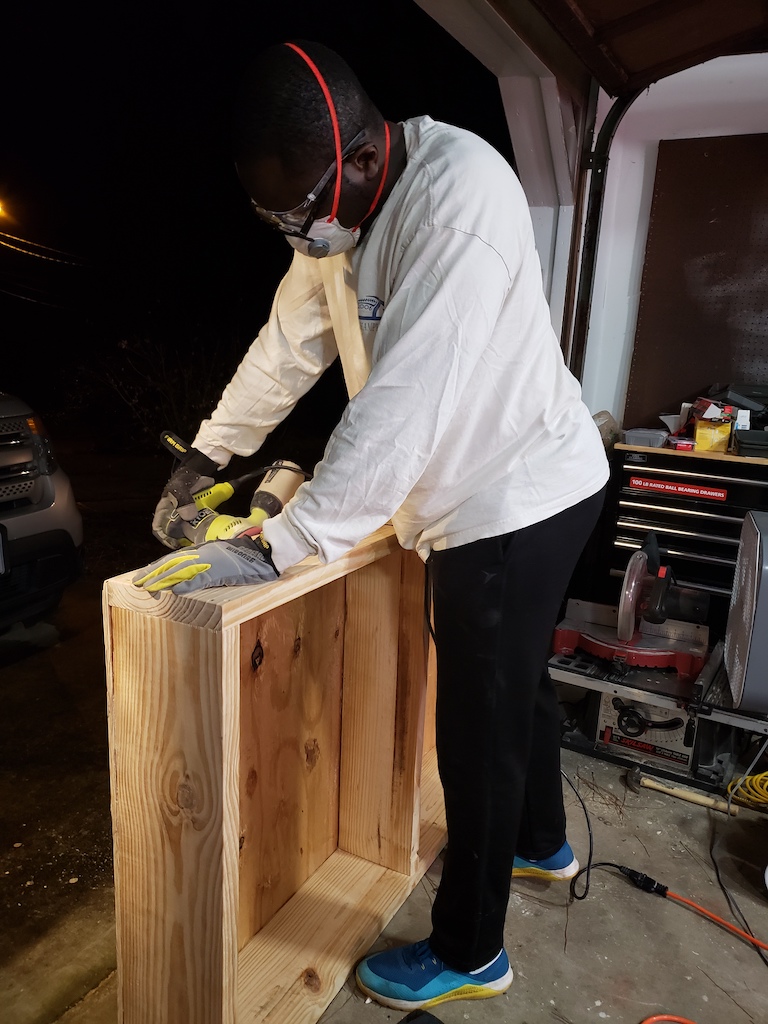
You will probably notice that we use weights for many of our projects. We have found overtime that they can be so handy! He used a piece of 3/4 inch sheet of plywood for make the side-piece and the countertop. The weights effectively held the sheet in place while he secured it to the base.
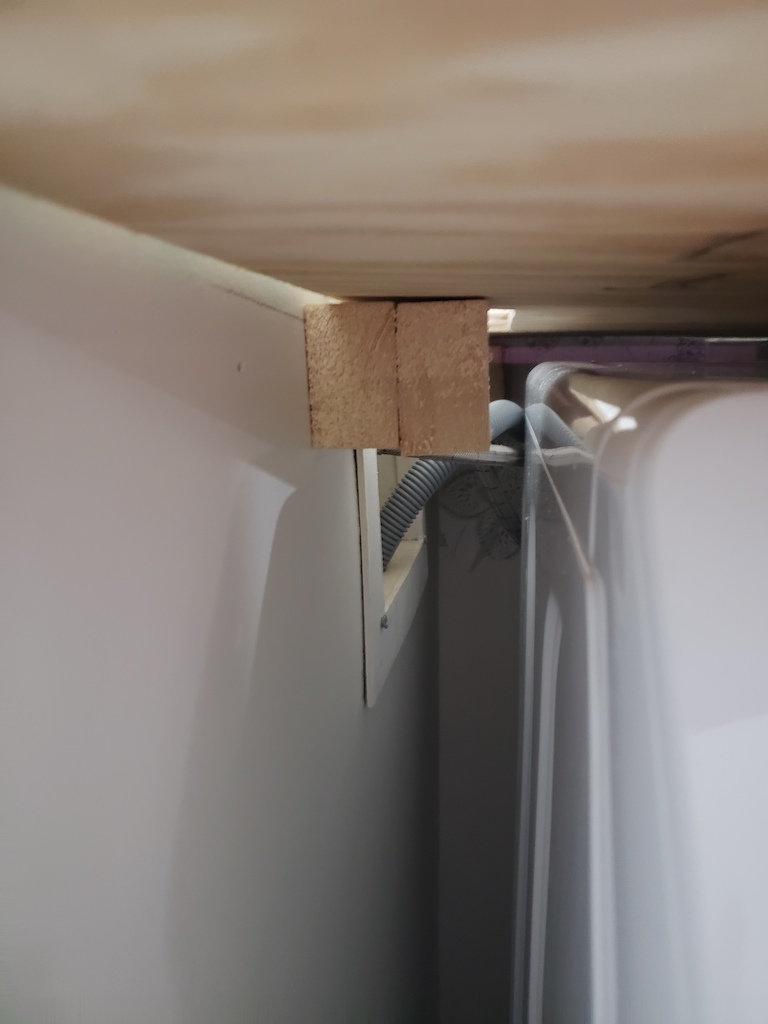
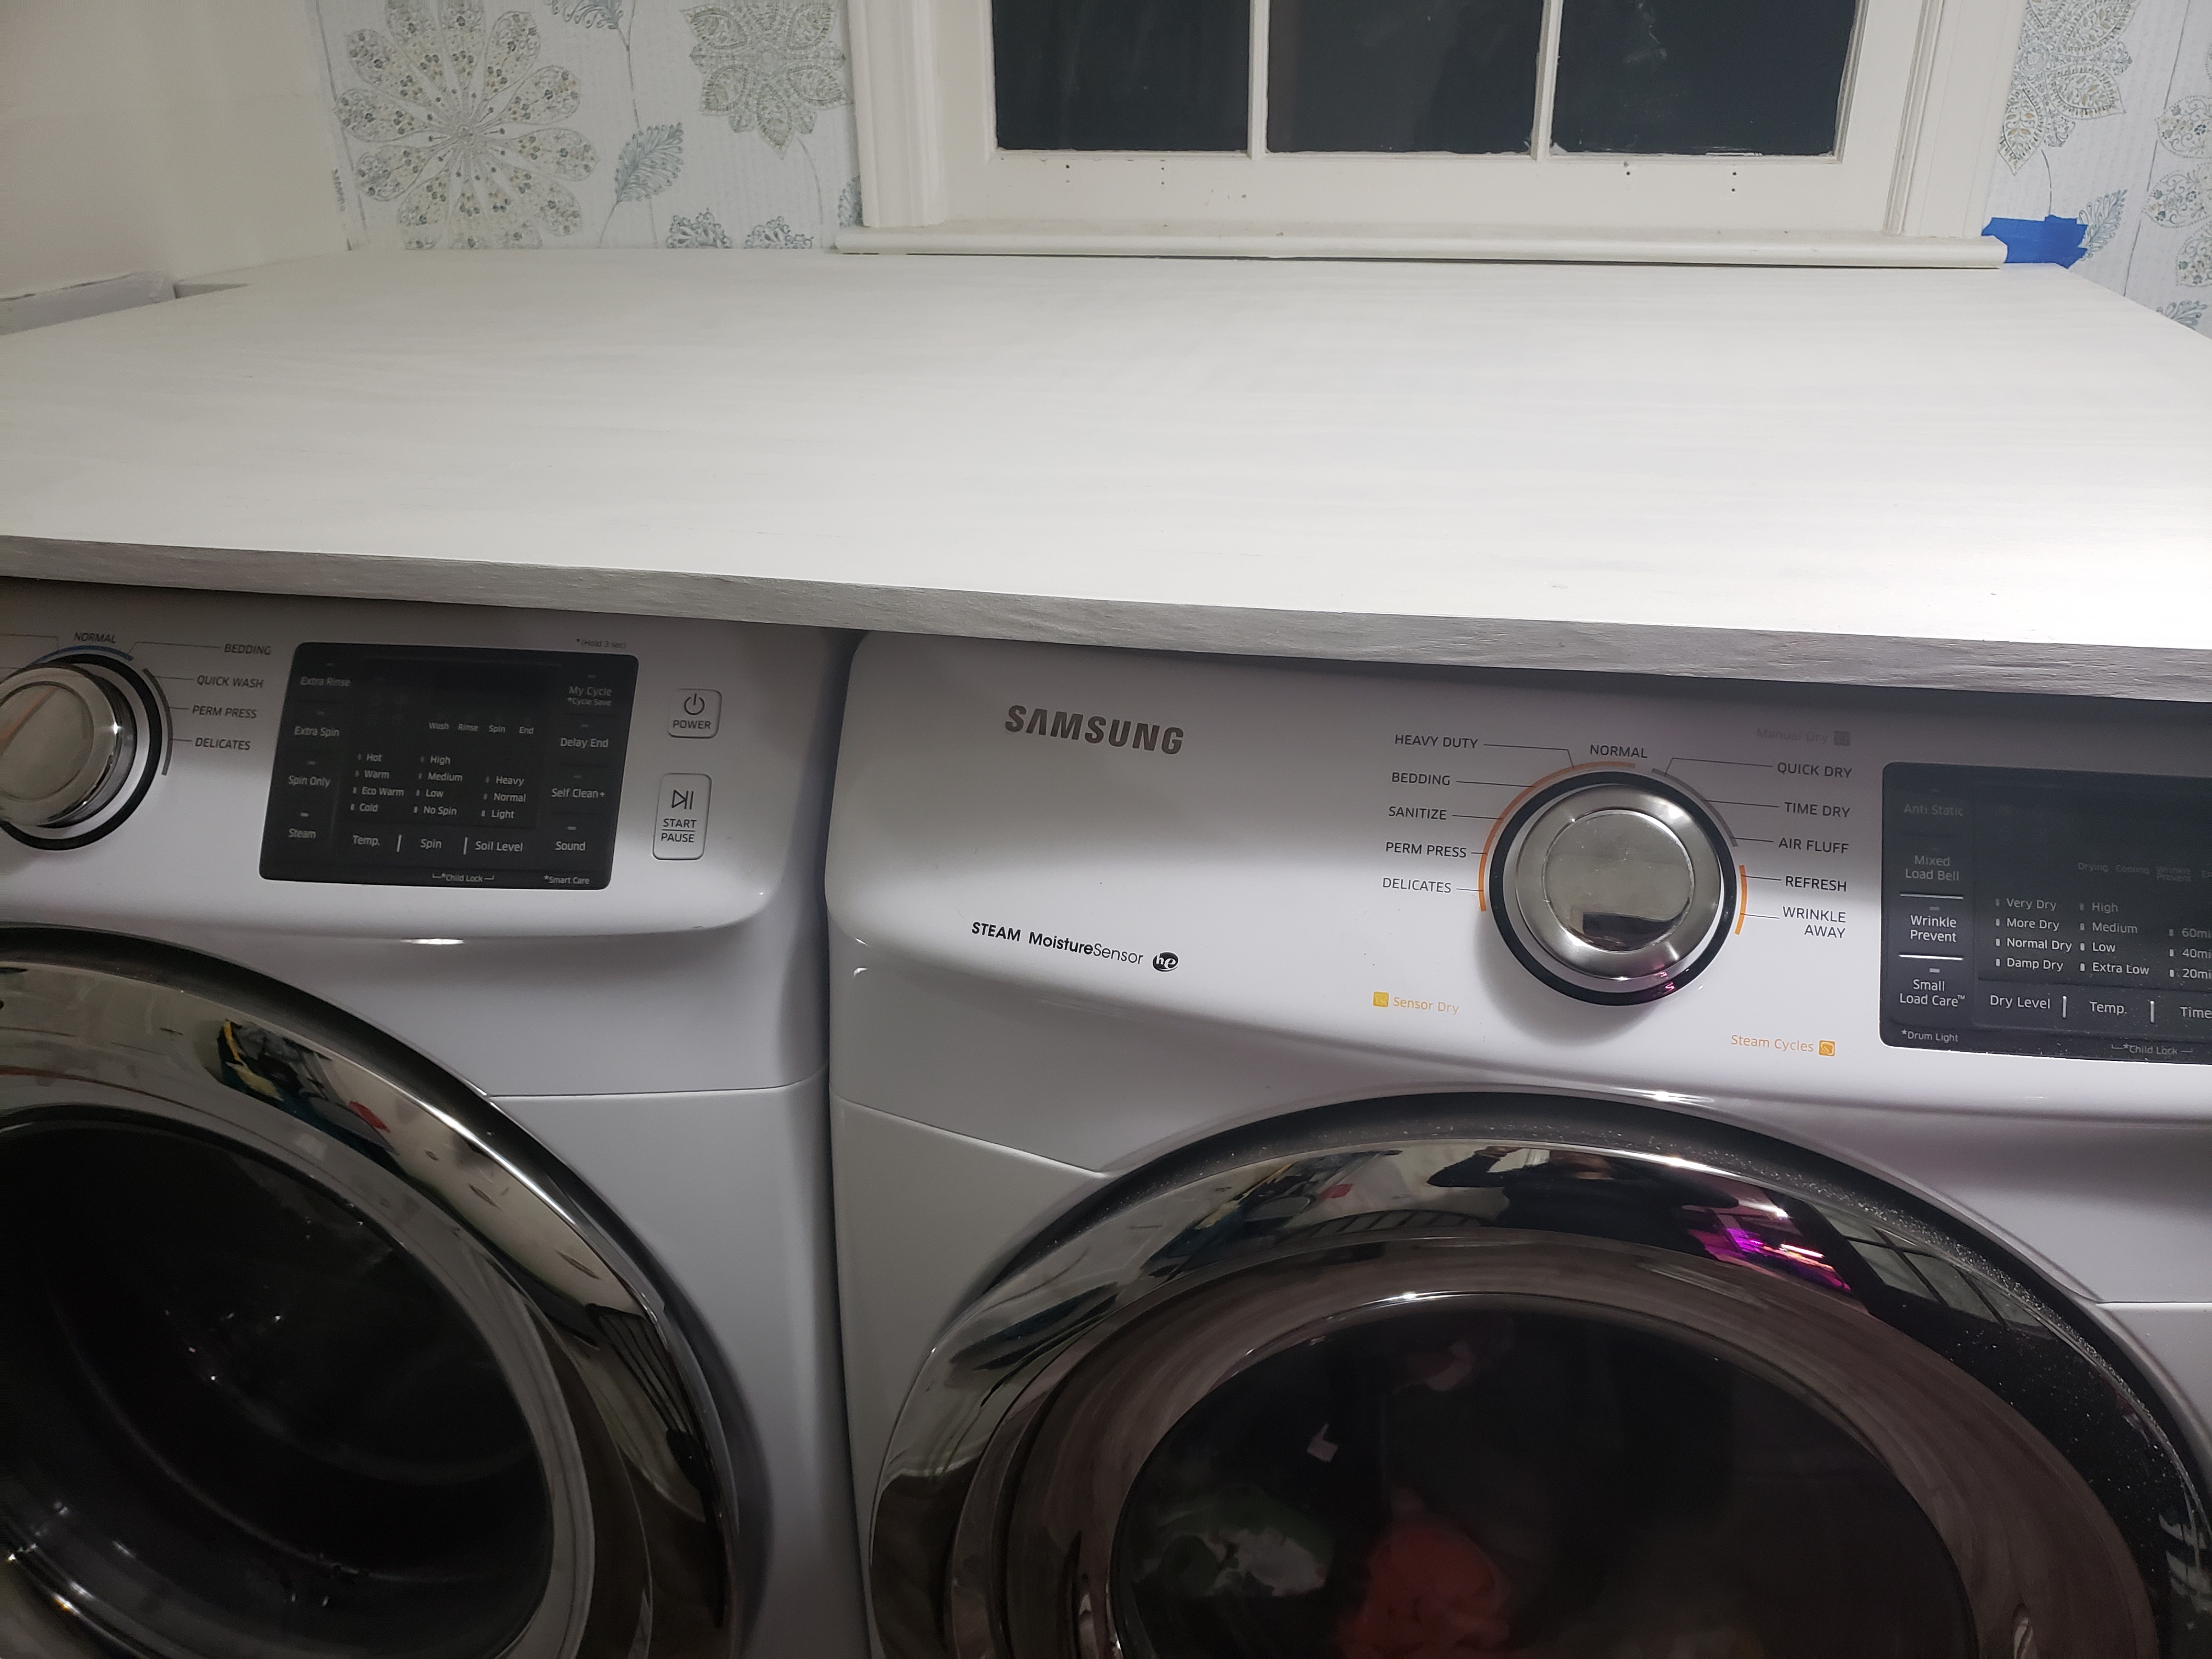
The countertop is supported by wood brackets secured in the studs along both sides of the wall. This area near our waterlines needed an additional piece to fit properly.
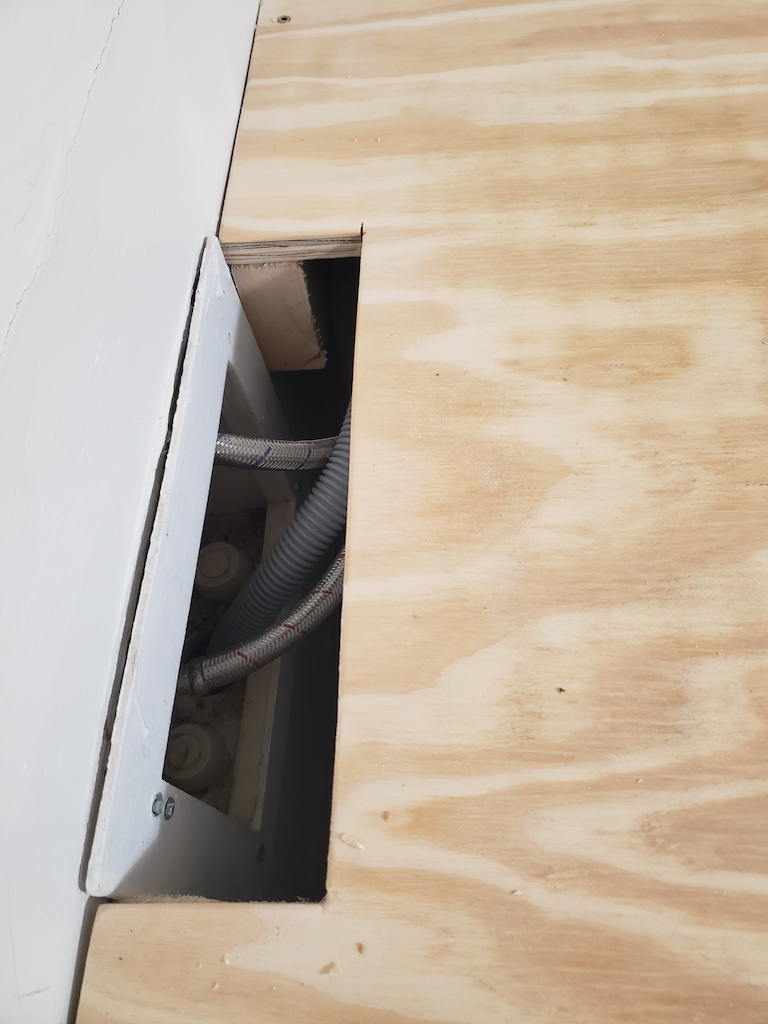
We decided not to go through the trouble of moving our water lines down (and let’s be honest… I don’t know the first thing about doing that and with the $500 budget for this entire room project, hiring a plumber was out of the question). I did realize that it may be a problem if we put the countertop right up against the wall and then need to access the lines in an emergency situation. I can just imagine my husband ripping the countertop apart in an attempt to cut the water off. We decided to cut a little opening so that we could easily access the water lines without compromising too much in the aesthetic category.
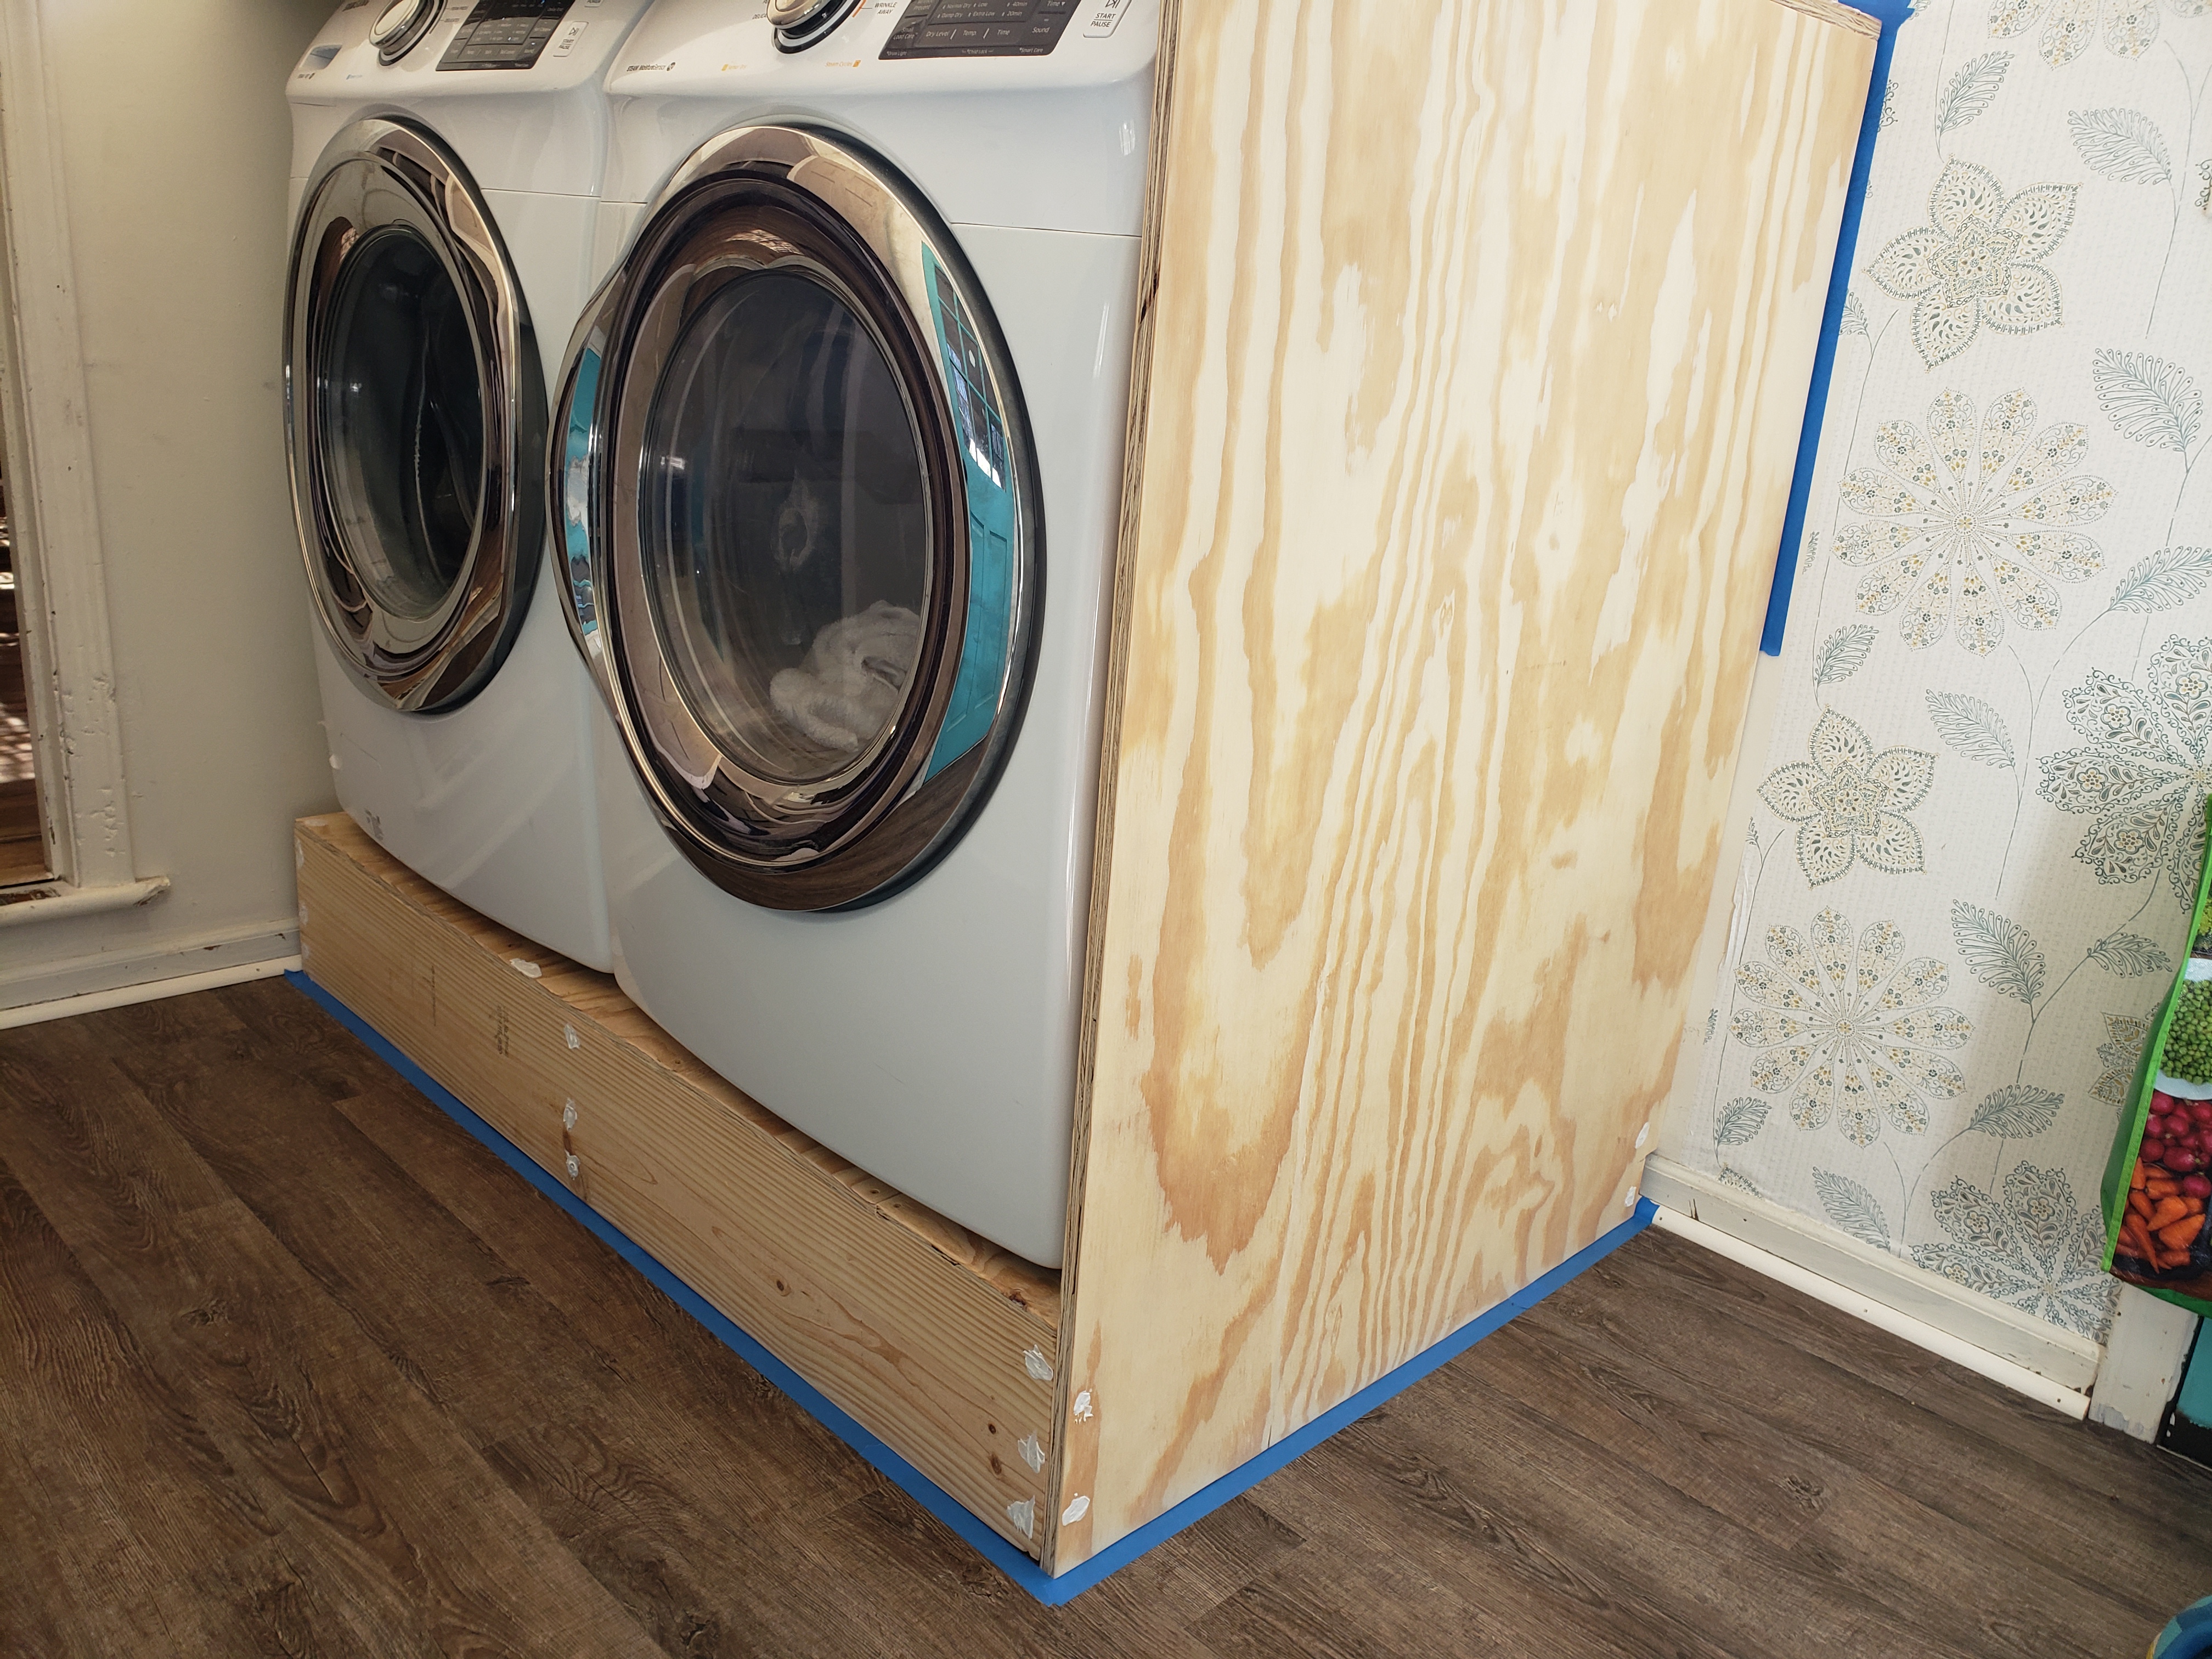
Here she is, all ready for paint! I filled the nails holes and taped the floor and some of the wall in preparation for painting before I realized that the edges looked so unfinished.
I ran out to Lowe’s and grabbed a pack of this banding edge tape. It was super easy to apply and made such a huge difference. You basically just iron it on like hem tape for clothing. Check out the picture above to see the difference between an edge that is lined with the tape and the one that is not. My favorite thing about this is that if you mess up or need to redo a part you just heat it back up with the iron and pull it off.
You may also want to seal it with a product to prevent the paint from being scratched and chipped.
One thing I do regret about this project is not actually painting the pedestal before he placed the washer and dryer on it. Whenever I can convince him to move them again I will paint and seal the insides. For now, I am very pleased with the results and so is my back!


Comments