
February 18, 2020
My first DIY for the #555RoomChallenge was flooring in the laundry/mudroom. I was a little intimidated to take this on by myself. For the most part, my husband does the heavy lifting and I do more of the planning, finishing touches, and painting. However, this year I have committed to getting my hands dirtier (that does not sound right, but hopefully you get what I am trying to say). After a little Youtube research, I determined that I was going to use vinyl plank flooring. I chose this type of flooring for several reasons:
- It was cheap… at around $1 per square foot, it was definitely in my budget for this space.
- It is waterproof. This space obviously houses our washing machine and if a leak were to happen (God forbid) this floor should survive.
- It is fairly durable. This space serves as our primary entry to the house so it needs to withstand constant use and abuse.
- It is easy to install. Sign me up! This required no power tools and no real skills.
- It can be laid on top of an existing floor.
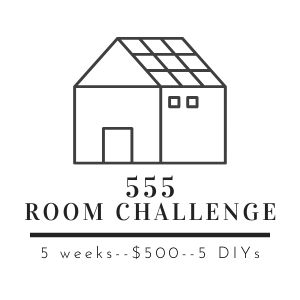
The first step was of course to clear the room. Thankfully, that is not a step I had to participate in at all. Once my husband cleared the room of the washer and dryer and cubbies it was time for me to clean. I already had some of the TSP cleaner leftover from the stencil project I did last year in the boys’ bathroom. So after I swept the floor and vacuumed everything it was time to get to mopping. I shared on Instagram about how cool this mop and bucket are. It was given to me by my mother in law and it was definitely a good buy. I mopped the floor two to three times letting it dry in-between and making sure it was really clean before moving on.
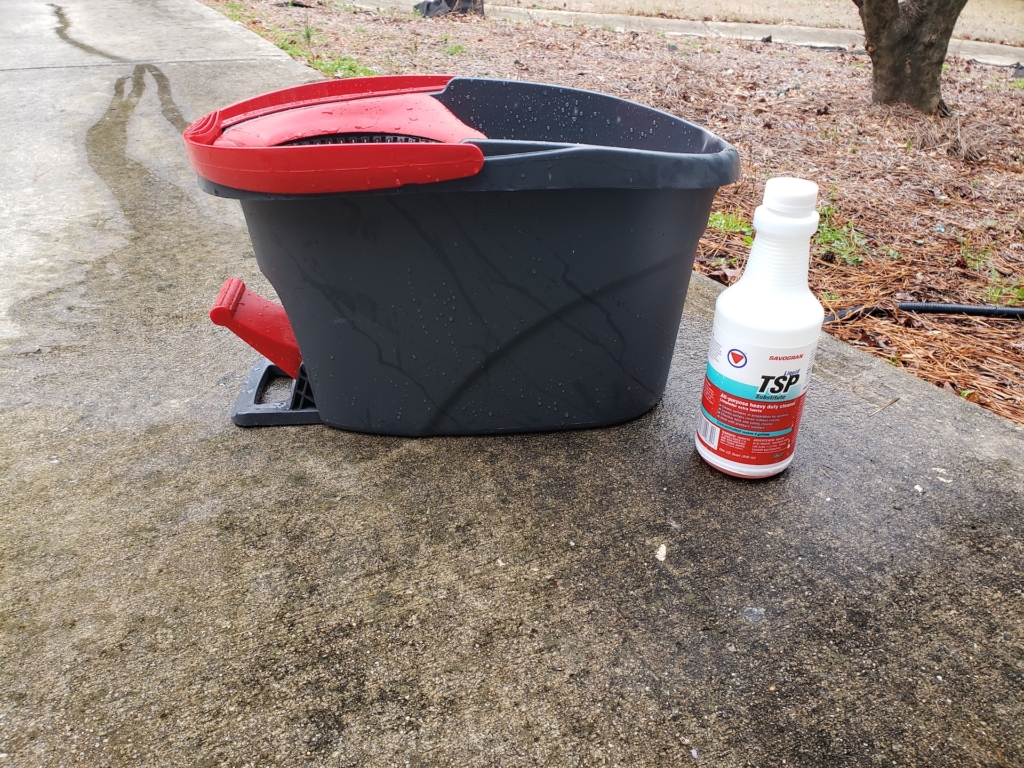
You guys… this was so easy that I do not even think this can be considered a tutorial. I literally just peeled the backing off and stuck it to the ground! Lol. Because the existing floor had a grid like pattern, I was able to use that to line everything up. I started from the middle of the room and worked my way out. I wanted to make sure to vary where the lines were so I did not line them all up evenly, but instead I staggered them.

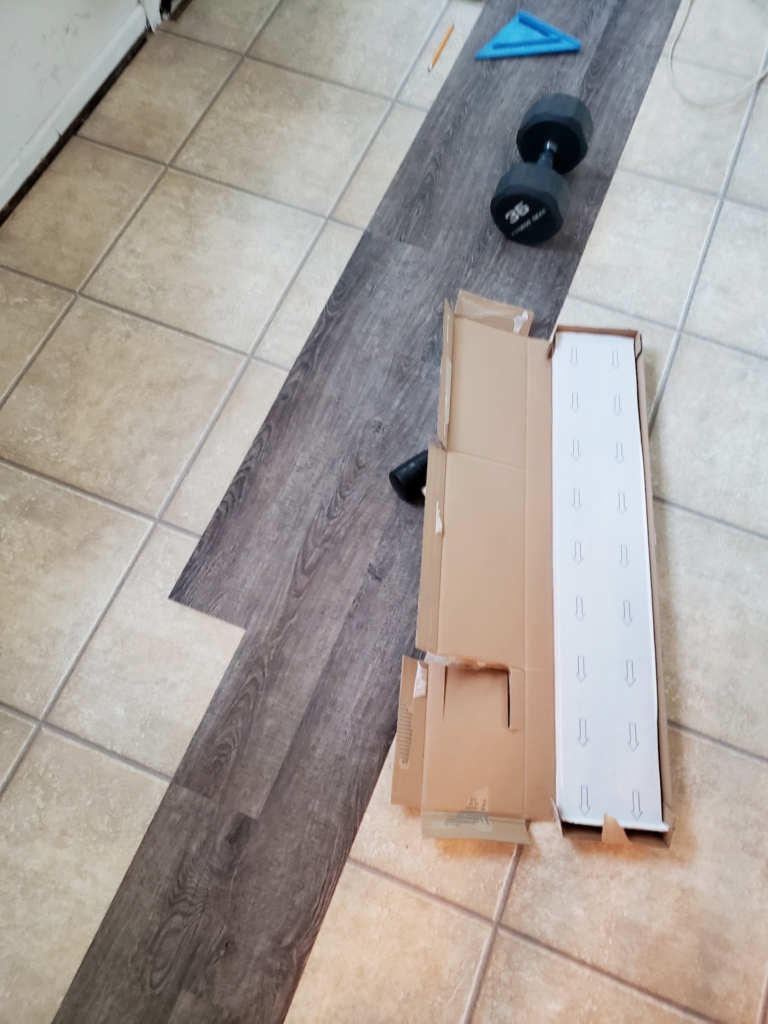
When I came to a point where a board needed to be cut it was super easy to do. You just need a blade of some sort, I used a box cutter I believe, and something to make sure you draw a straight line. I used a triangle ruler thingy. I simply determined where I needed the cut to be made and used the ruler to score the board. Once the board was scored I just popped the pieces apart.

Seriously, this entire thing was too easy! The only issue I had is where one piece was laying flat initially. I just grabbed some of my husband’s weights from the gym to make sure that the adhesive had the opportunity to fully make contact with the floor. It worked and I have had no other issues! We added the quarter round back and I will caulk and paint when the pedestal and countertop is installed. Next up is the wall paper accent wall! I cannot wait to see what it adds to this space!


I am so impressed that you laid the flooring! I love the gray color!
Comments