
October 17, 2019

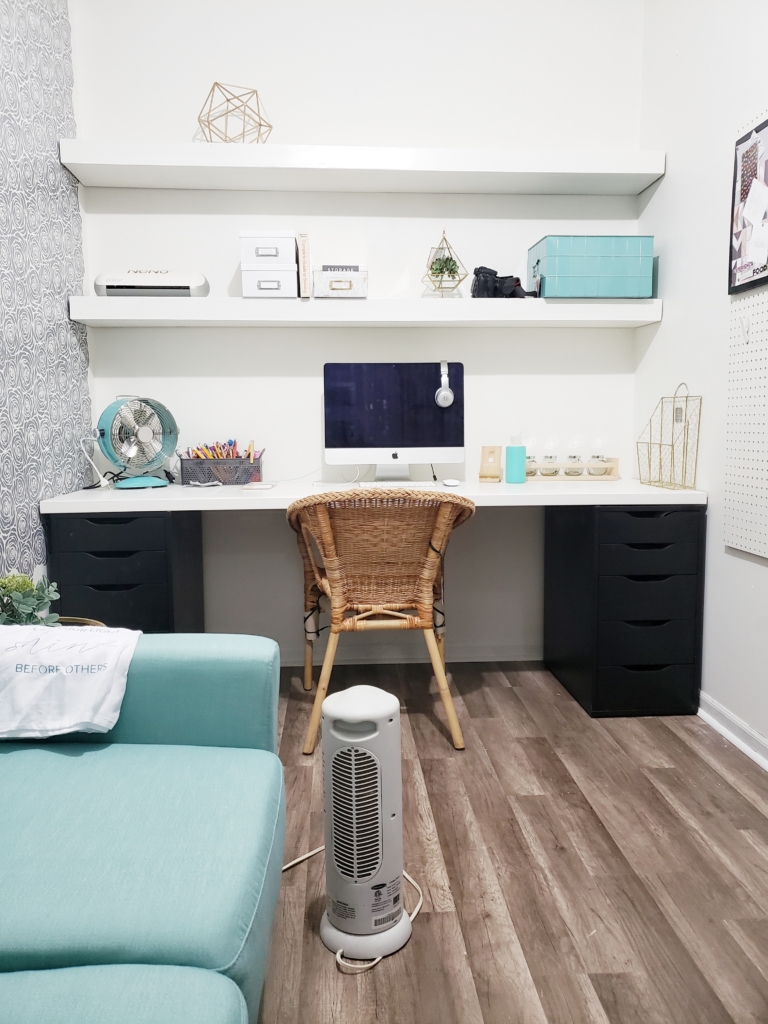
We are at the halfway point of the One Room Challenge and surprisingly all of the major pieces are basically done and in place. My major highlight of the week was when my little settee arrived! She is so cute and I really feel like she adds the right pop of color to the space. As perfect as she is for my space, this week is all about the builtin shelves and desk. This space is pretty compact so I had to really plan with that in mind. My dream was to have a desk in the middle of the room with beautiful builtins behind it. Unfortunately, that was not possible, so the desk and the builtins would have to essentially merge.

I already had an Ikea hack desk setup from our previous office space inside of our home. That space now contains our builtins and we now call it our reading room.

It made the most sense to repurpose what I already had on hand. The desktop was made from the Ikea Karlby countertop. I had the 98 1/2 inch long countertop which was too long for the new space. So we cut it down to size using a circular saw. Once it was cut to size we made sure it fit before sanding it and painting. I wanted to continue using what I had on hand, so my good old trusty white paint (Alabaster by Sherwin Williams) is what I used to paint the desktop. I then sealed it with the Miniwax Polycrylic to protect the finish. There is nothing worse than having your freshly painted desktop damaged because you placed something on it without sealing it. (Don’t ask me how I know that!)
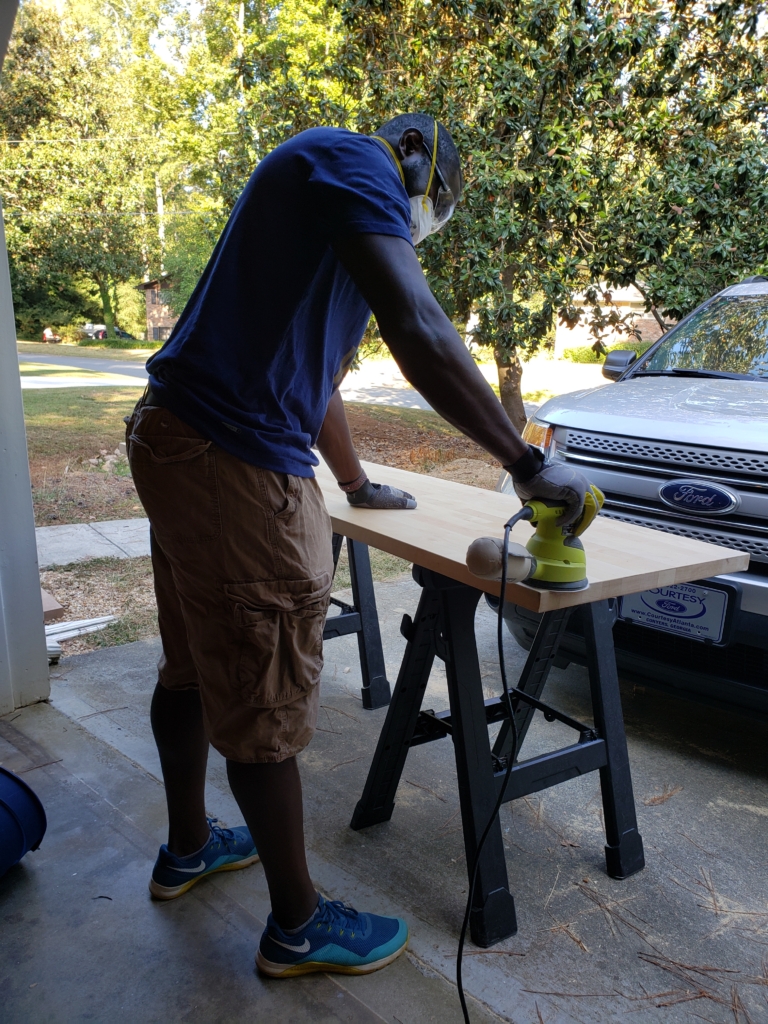

For the base of the desk, we used two of the Alex drawer units in brown-black (another piece from the former office). The newly cut, sanded, painted, and sealed desktop fit perfectly on top and the desk was done!
The shelves were also fairly simple (says the lady who did not do the building). The first thing that he did was install wall brackets, using scrap wood we had lying around in the garage. He placed them along the sides and the back of the wall, securing them with 3 inch wood screws. He anchored them to the studs, if they were available, or butterfly anchors in the wall.


For the shelves, we used four 8-foot pieces of common wood boards (1-inch x 10-inch) and cut them down to 82 inches. We then cut down 1-inch x 1-inch x 8-foot pieces down to 7-inch pieces. We used these pieces as supports, attaching the boards to them using 1 1/2-inch wood screws. We then cut a separate 1-inch x 10-inch x 8-foot common boards to 82 inch long pieces that were 3 inches wide using the circular saw and then the table saw. These were used as caps on the ends of shelves, using 1 1/2-inch finish nails and 2-inch wood screws, giving them a boxed look. We sanded all the surfaces and corners.


We then slid them onto the 3 wall anchors (2 on the sides and 1 in the middle) to test them out. My husband had a few dumbbells in the gym and figured the best way to test the shelves out was to put the dumbbells on the shelfs. He put a total of 60 pounds (that’s the weight of my youngest kids combined!) on each shelf.

After the test, we pulled them off the anchors, filled the holes with natural wood filler and did a final sanding down. Afterwards, we painted the shelves with two coats of the Alabaster by Sherwin Williams, sealed them with the Miniwax polycrylic, and rehung them.
We have come so far, but I still feel like we have so much more to do. Lighting and organization will be tackled in these last few weeks, along with all of the finishing decor touches. Thanks for joining me this week! Don’t forget to go and check out the other participants here!


Those shelves look awesome, love how meaty/chunky they are! Great presence!
I was going to say the same thing – they look substantial but not obtrusive! (not sure why my comments go through in all caps,,,)
Wow!!! I’m totally digging your shelves!! This space is looking great!!
Thank you Jamala!
Love the shelves!! This is going to be such a lovely space!
Comments