
September 12, 2019
You will probably notice that I am all about repurposing spaces so that they work best for you and your family. There are so many spaces in our home that will have different uses than what was intended when this home was originally built. That is one of my favorite aspects of inhabiting a space that was once lived in, I have the opportunity to breath new life into old bones and create something both beautiful and functional. This time it was our coat closet’s turn to get a makeover.
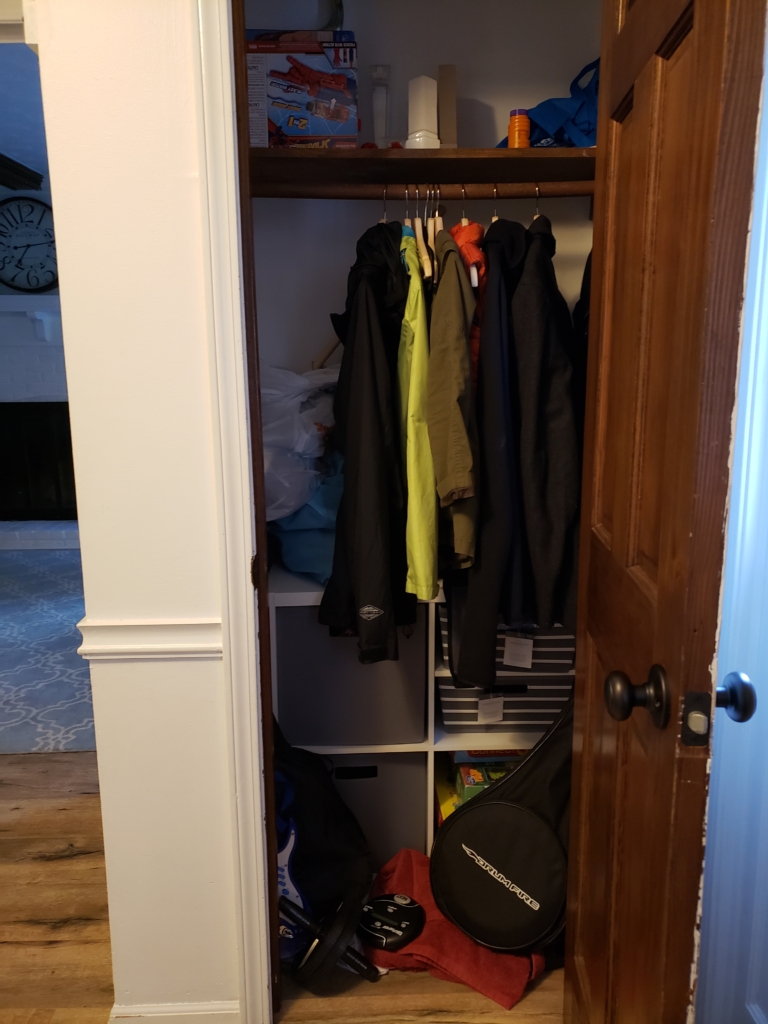
About a year ago, I did a little reorganizing here. I thought it was great, until we started using it and I quickly saw that it was not functional. AT. ALL. It quickly began to accumulate junk. I started piling coats on top instead of using the hangers. I was not able to clearly determine what the bins were for or how they would be used, so random things began to fill those spaces. It was a hot, hard to close the door, mess… and I was over it!
After thinking it over, I determined that it would be best to turn this coat closet in to a DIY toy closet for our boys. I recently eliminated their playroom, which meant that their toys were all over the place. There was no order or structure, no rhyme or reason. They were just tossed in the corners of rooms here, there, and everywhere! We desperately needed some toy organization in the form a coat closet makeover.
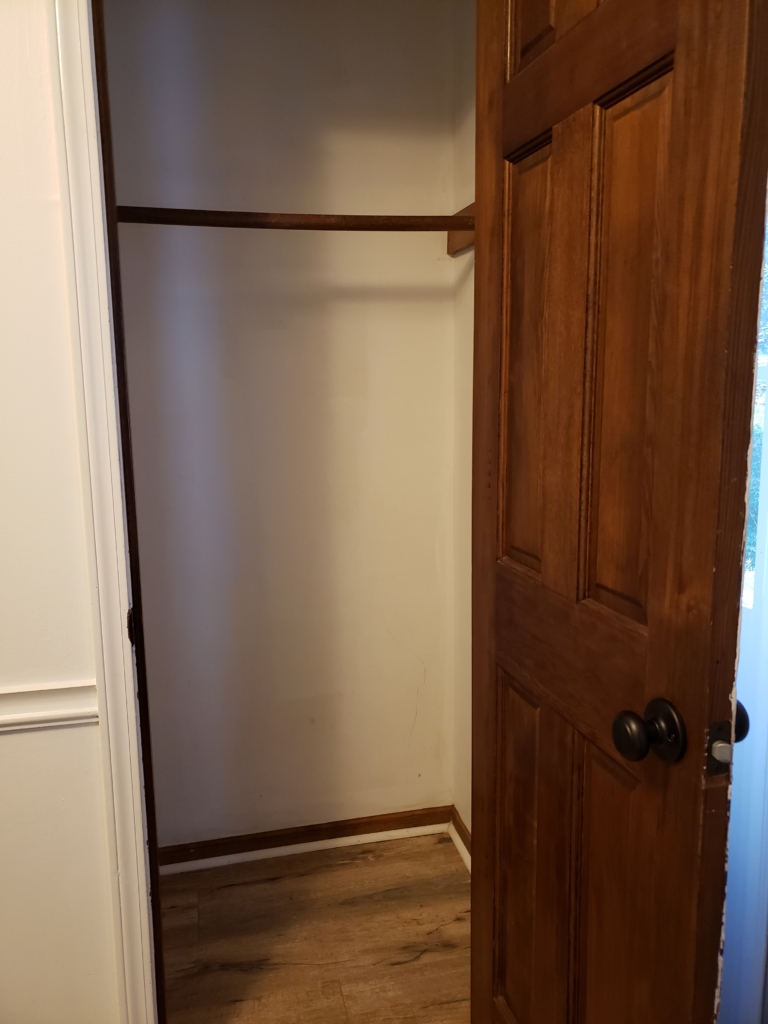
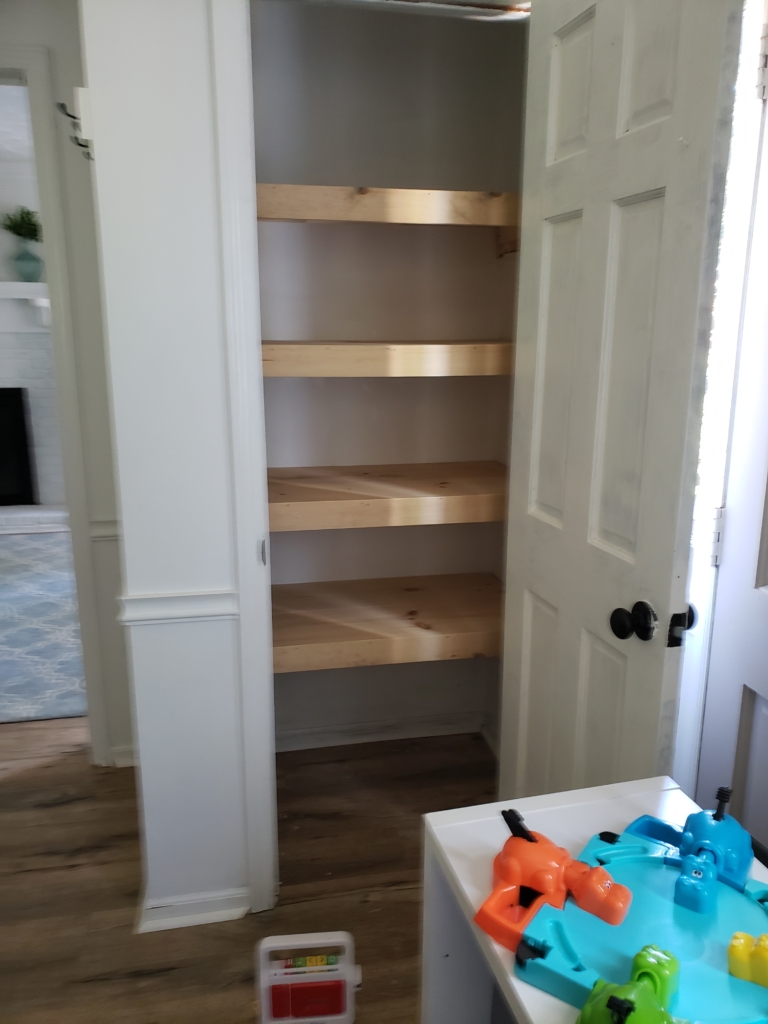
While Joe was building the new floating shelves, I emptied out the closet. I was honestly very surprised to see how much we actually fit into this tiny space. I mean we had everything from games, toys, instruments, exercise equipment, and decor.
Floating Shelves Tutorial:
To build the DIY floating shelves, we used pine common board. You can find it at Home Depot or Lowe’s or any place that sells wood. He measured the space while I eyeballed it to determine what size the shelves should be. For our purposes, he cut the shelves to be 37 inches by 24 inches using his table saw.
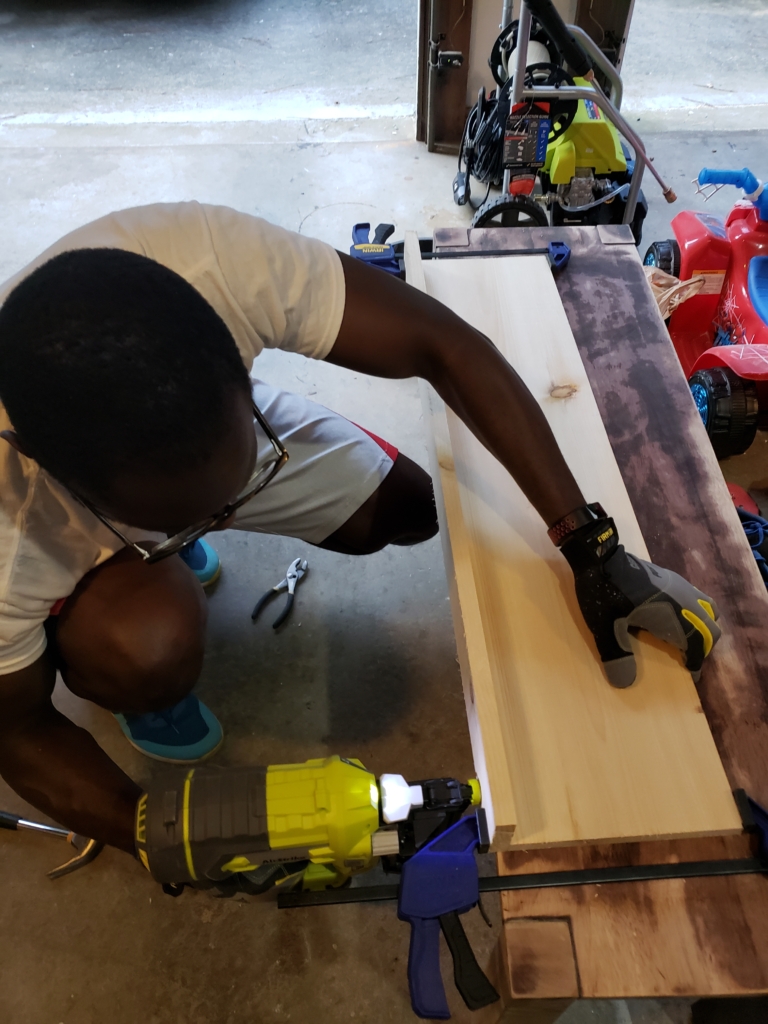
He then attached the lip or front of the shelves (3 inches by 37 inches) using wood glue and his nail gun. Now there are many ways to attach this that would make a smoother transition between the two pieces, but for us this was simple and quick and we are happy with the results.
To secure the boards to the wall, we cut more of the common pine to be 18 inches by 2 inches and secured them to the wall on both sides of the closet 15 inches apart using wood screws. This distance was also eyeballed and determined by holding up a bin to see if it would fit in the space.
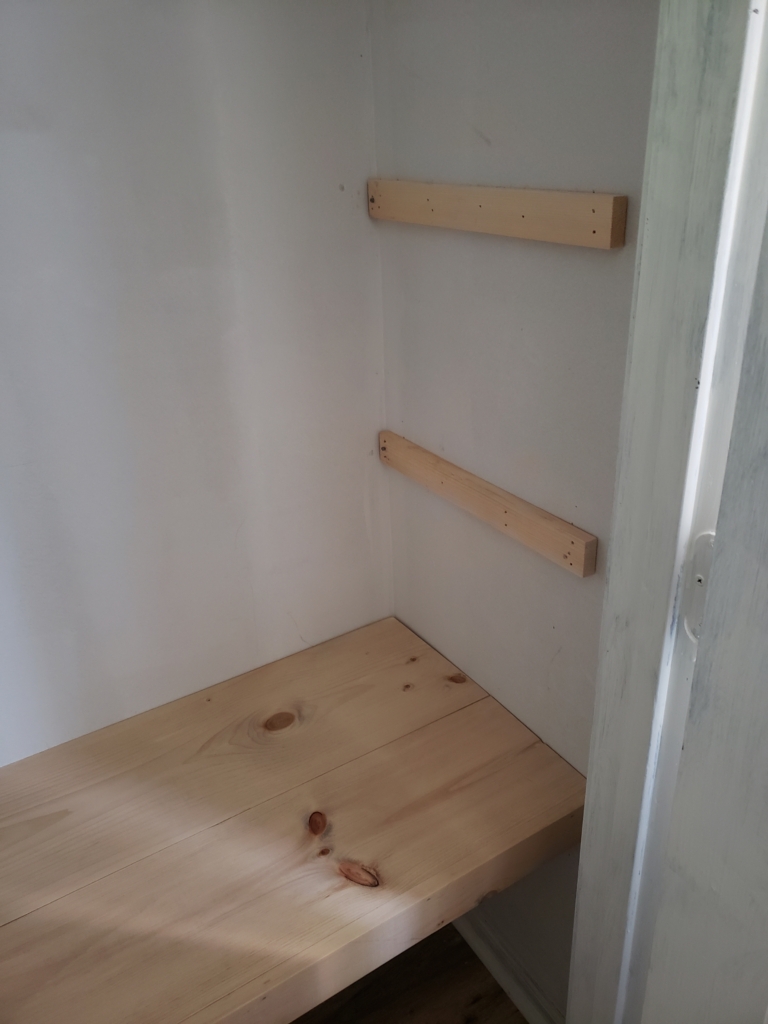
Once the brackets were in place and the boards built, I stained the wood using Miniwax Weathered Oak. I simply took an old rag and applied the stain going in the same direction of the grain. We let it sit in the garage for a couple days to air out before placing the shelves in the closet.
I found the charcoal bins and the shorter striped bins at Target and the wire bins from Walmart. The labels are also from Target. I love these labels because they slide perfectly on the bins and make them look so neat and organized. My younger two boys cannot read yet but my five year old can and it definitely helps to make sure that things are returned to their “homes” on each of the assigned floating shelf.
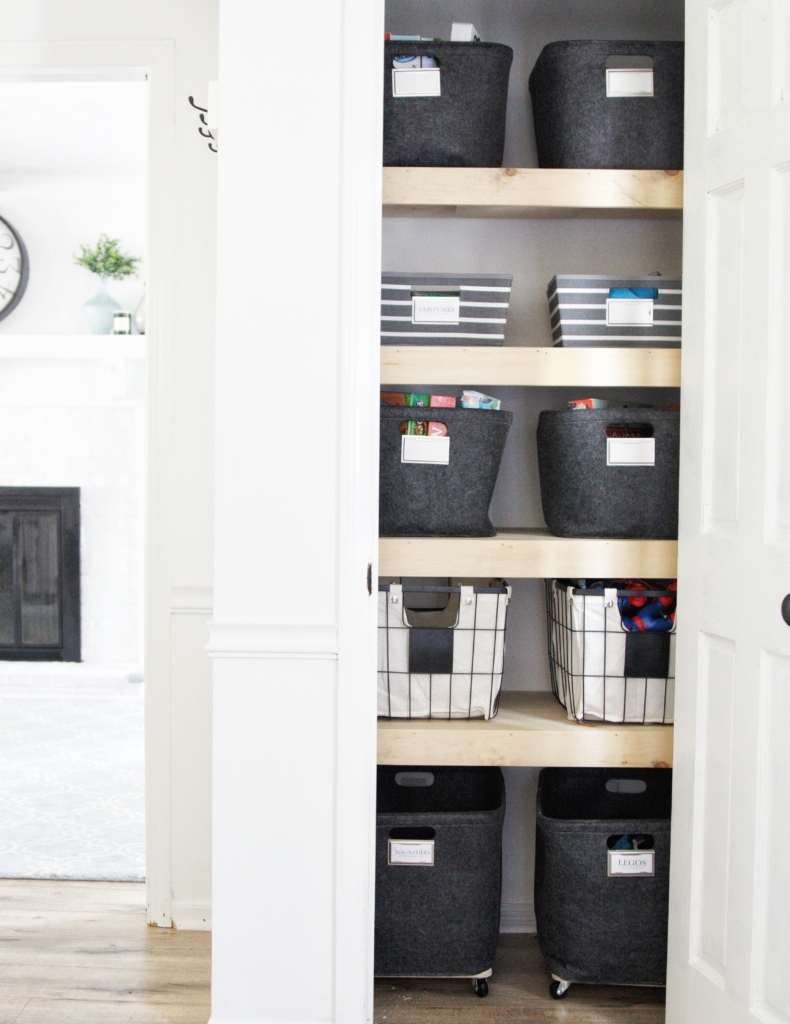
The two bins on the bottom are larger than the other bins and I decided that they would be best to hold the boys’ legos and magnitiles. They have several packs of each and they are super heavy. Now I could have just allowed them to drag them across the floor to play with them, but we decided it would be best to reinforce the bottom with some plywood and add little casters so that they can easily roll the bins around.
We absolutely love this little toy storage space and feel that it is way more functional this way. I am thinking that this space may need some wallpaper to spice it up a little bit but I will deal with that another day. What do you think about our toy closet makeover? Have you ever repurposed your coat closet? Transitioning our coat closet to toy closet has been a game changer for our family!


Comments